Sofia + Su Kyong + Annie + Sumi: Final Outcome of Inhabitations

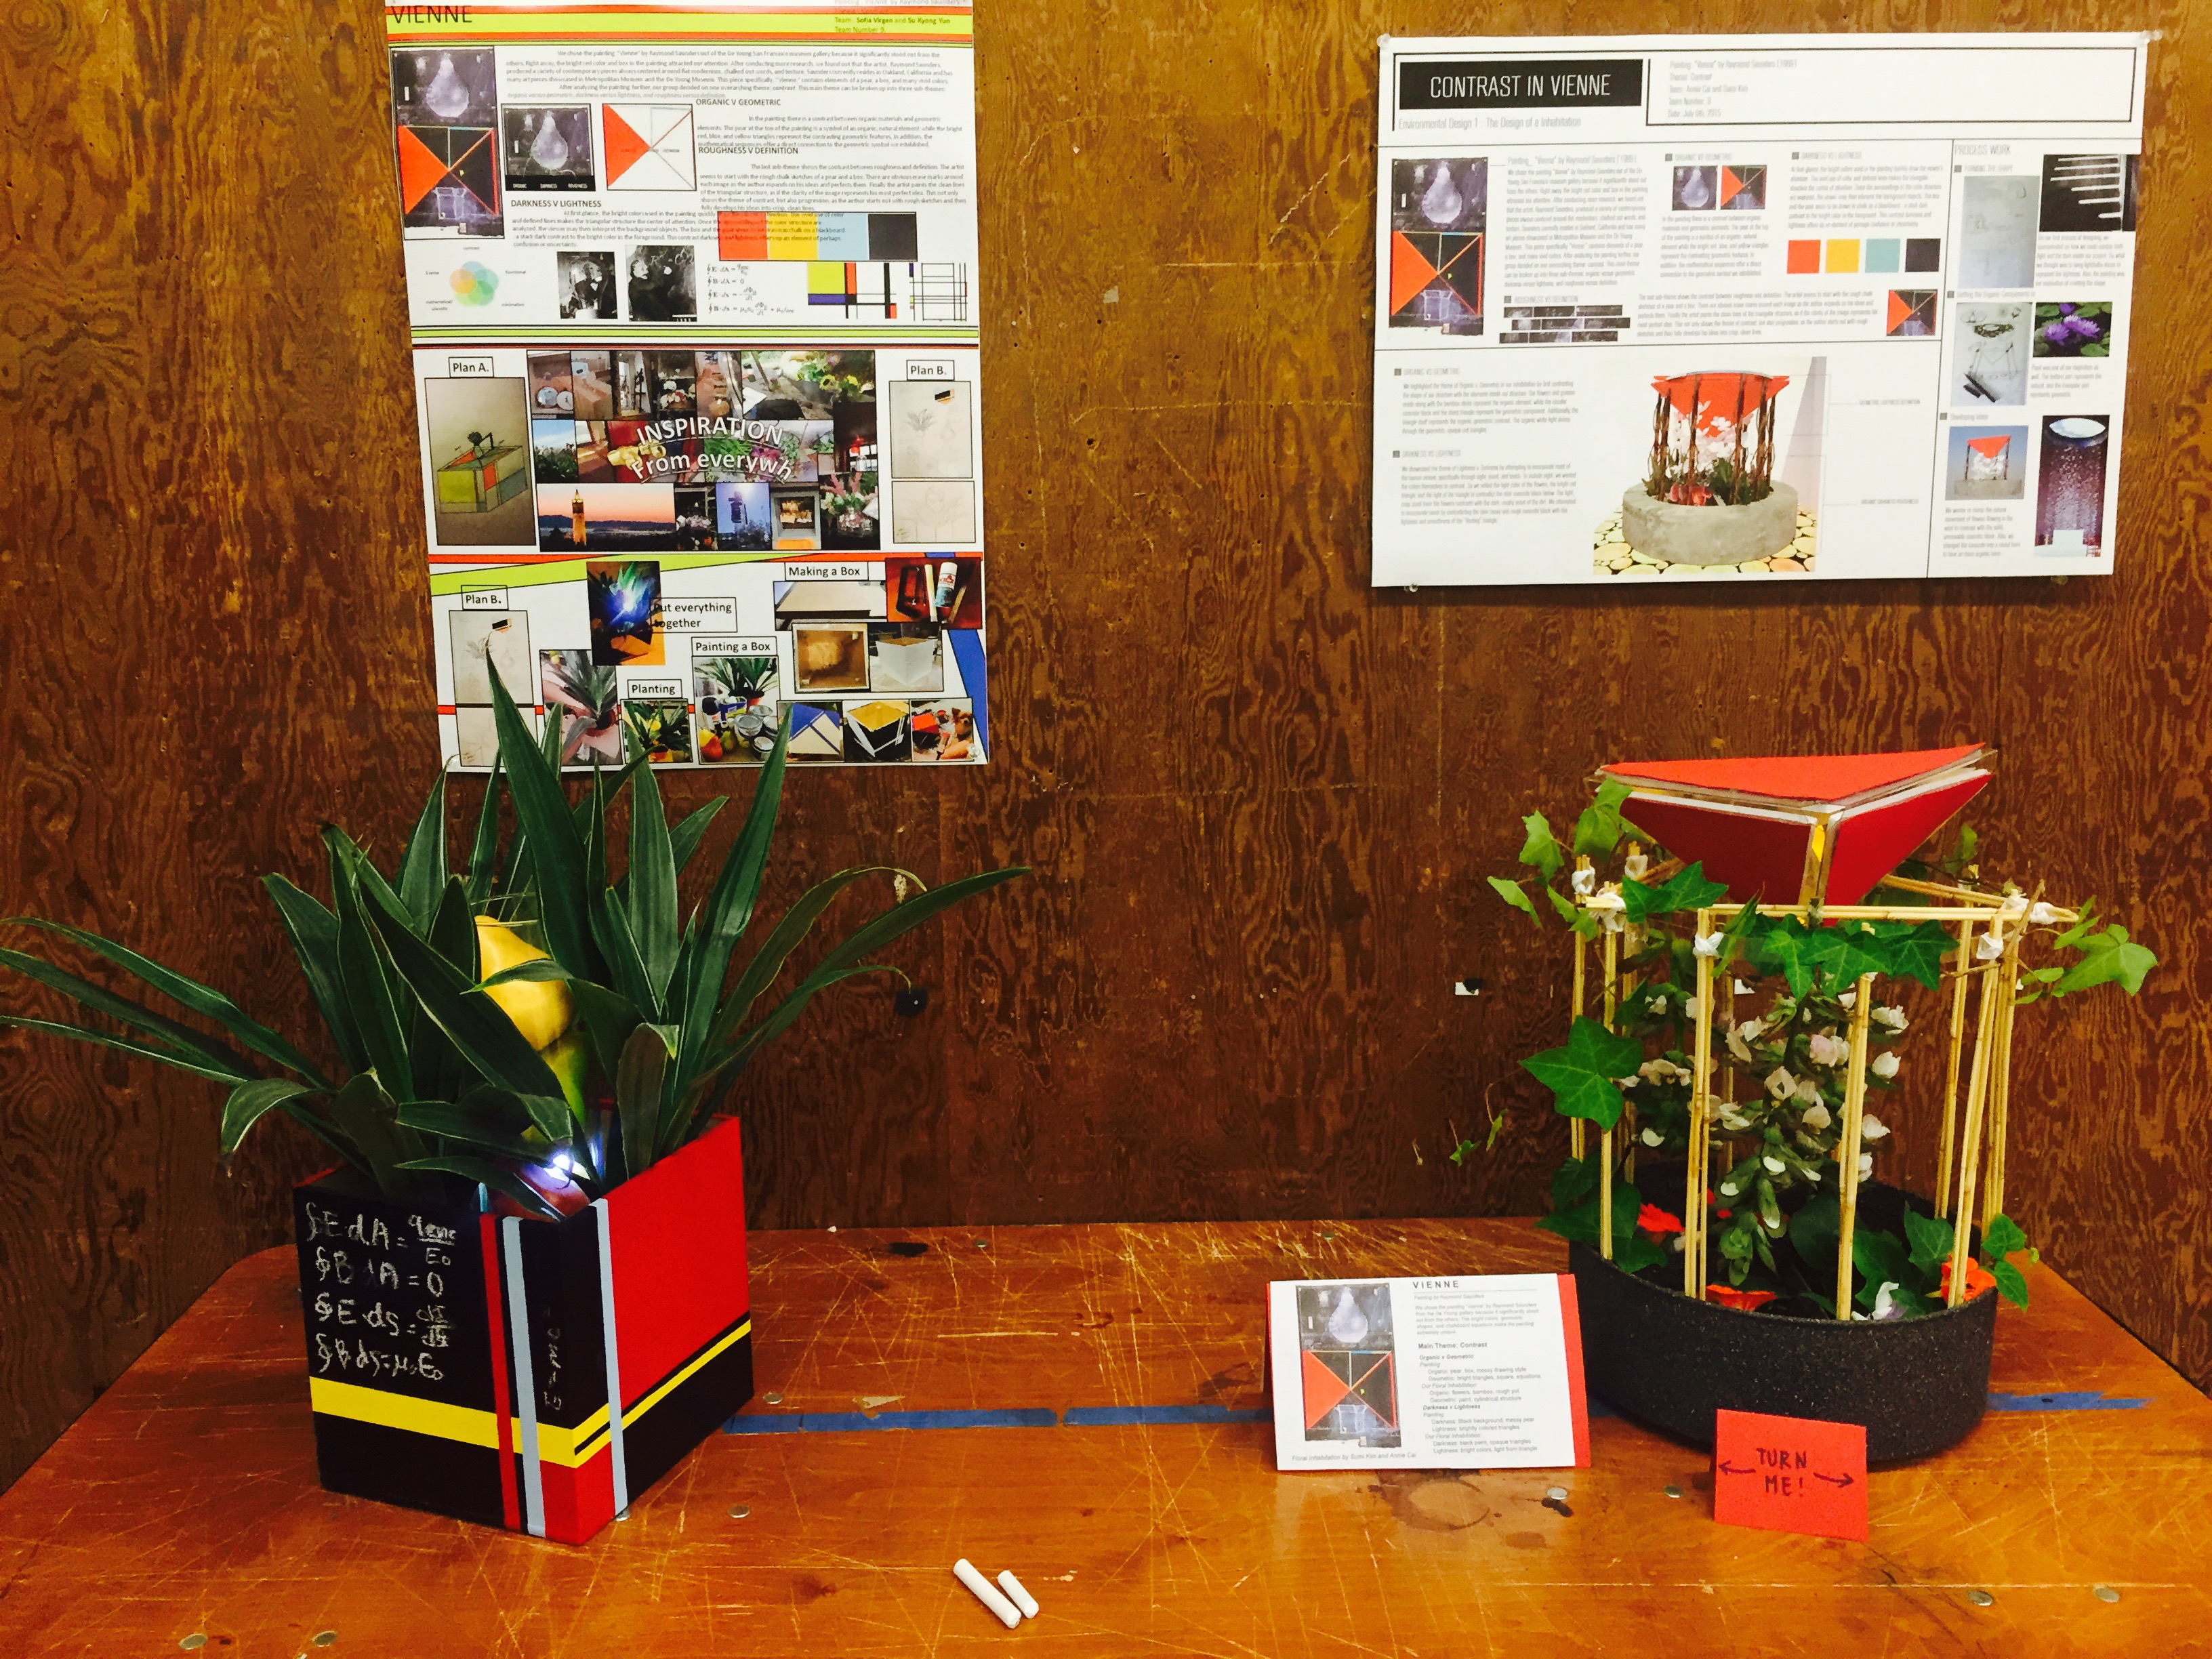
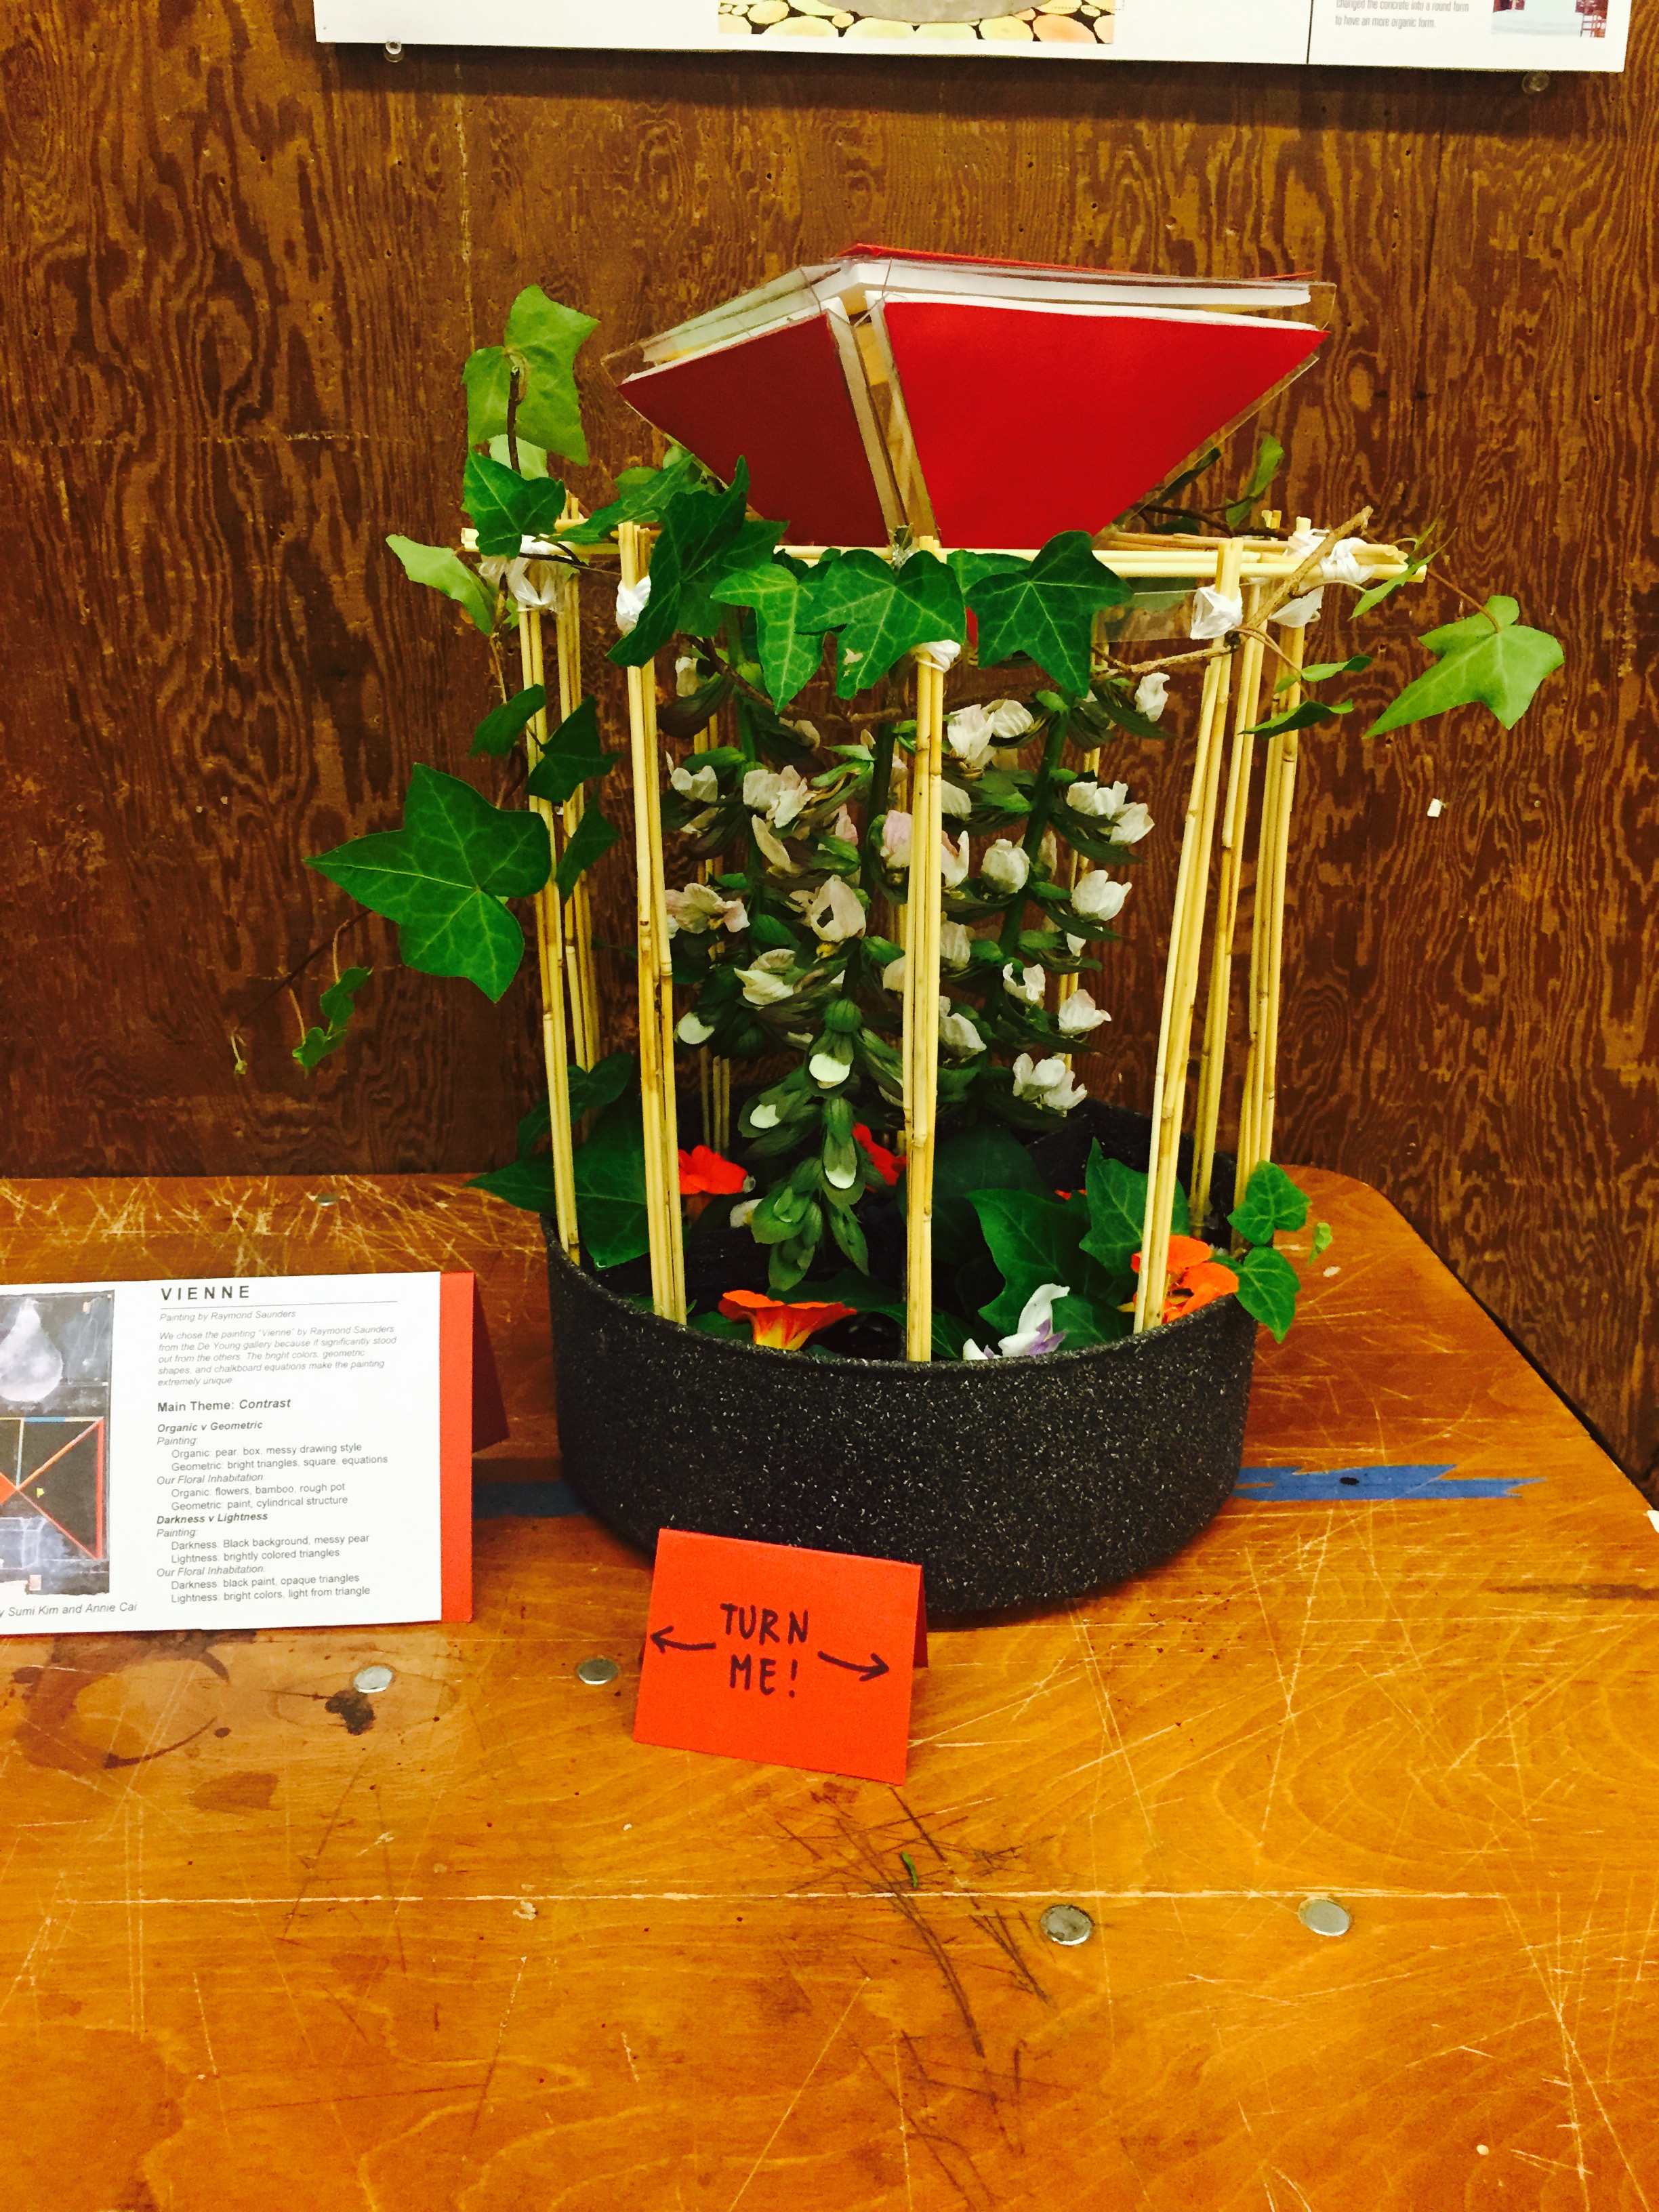
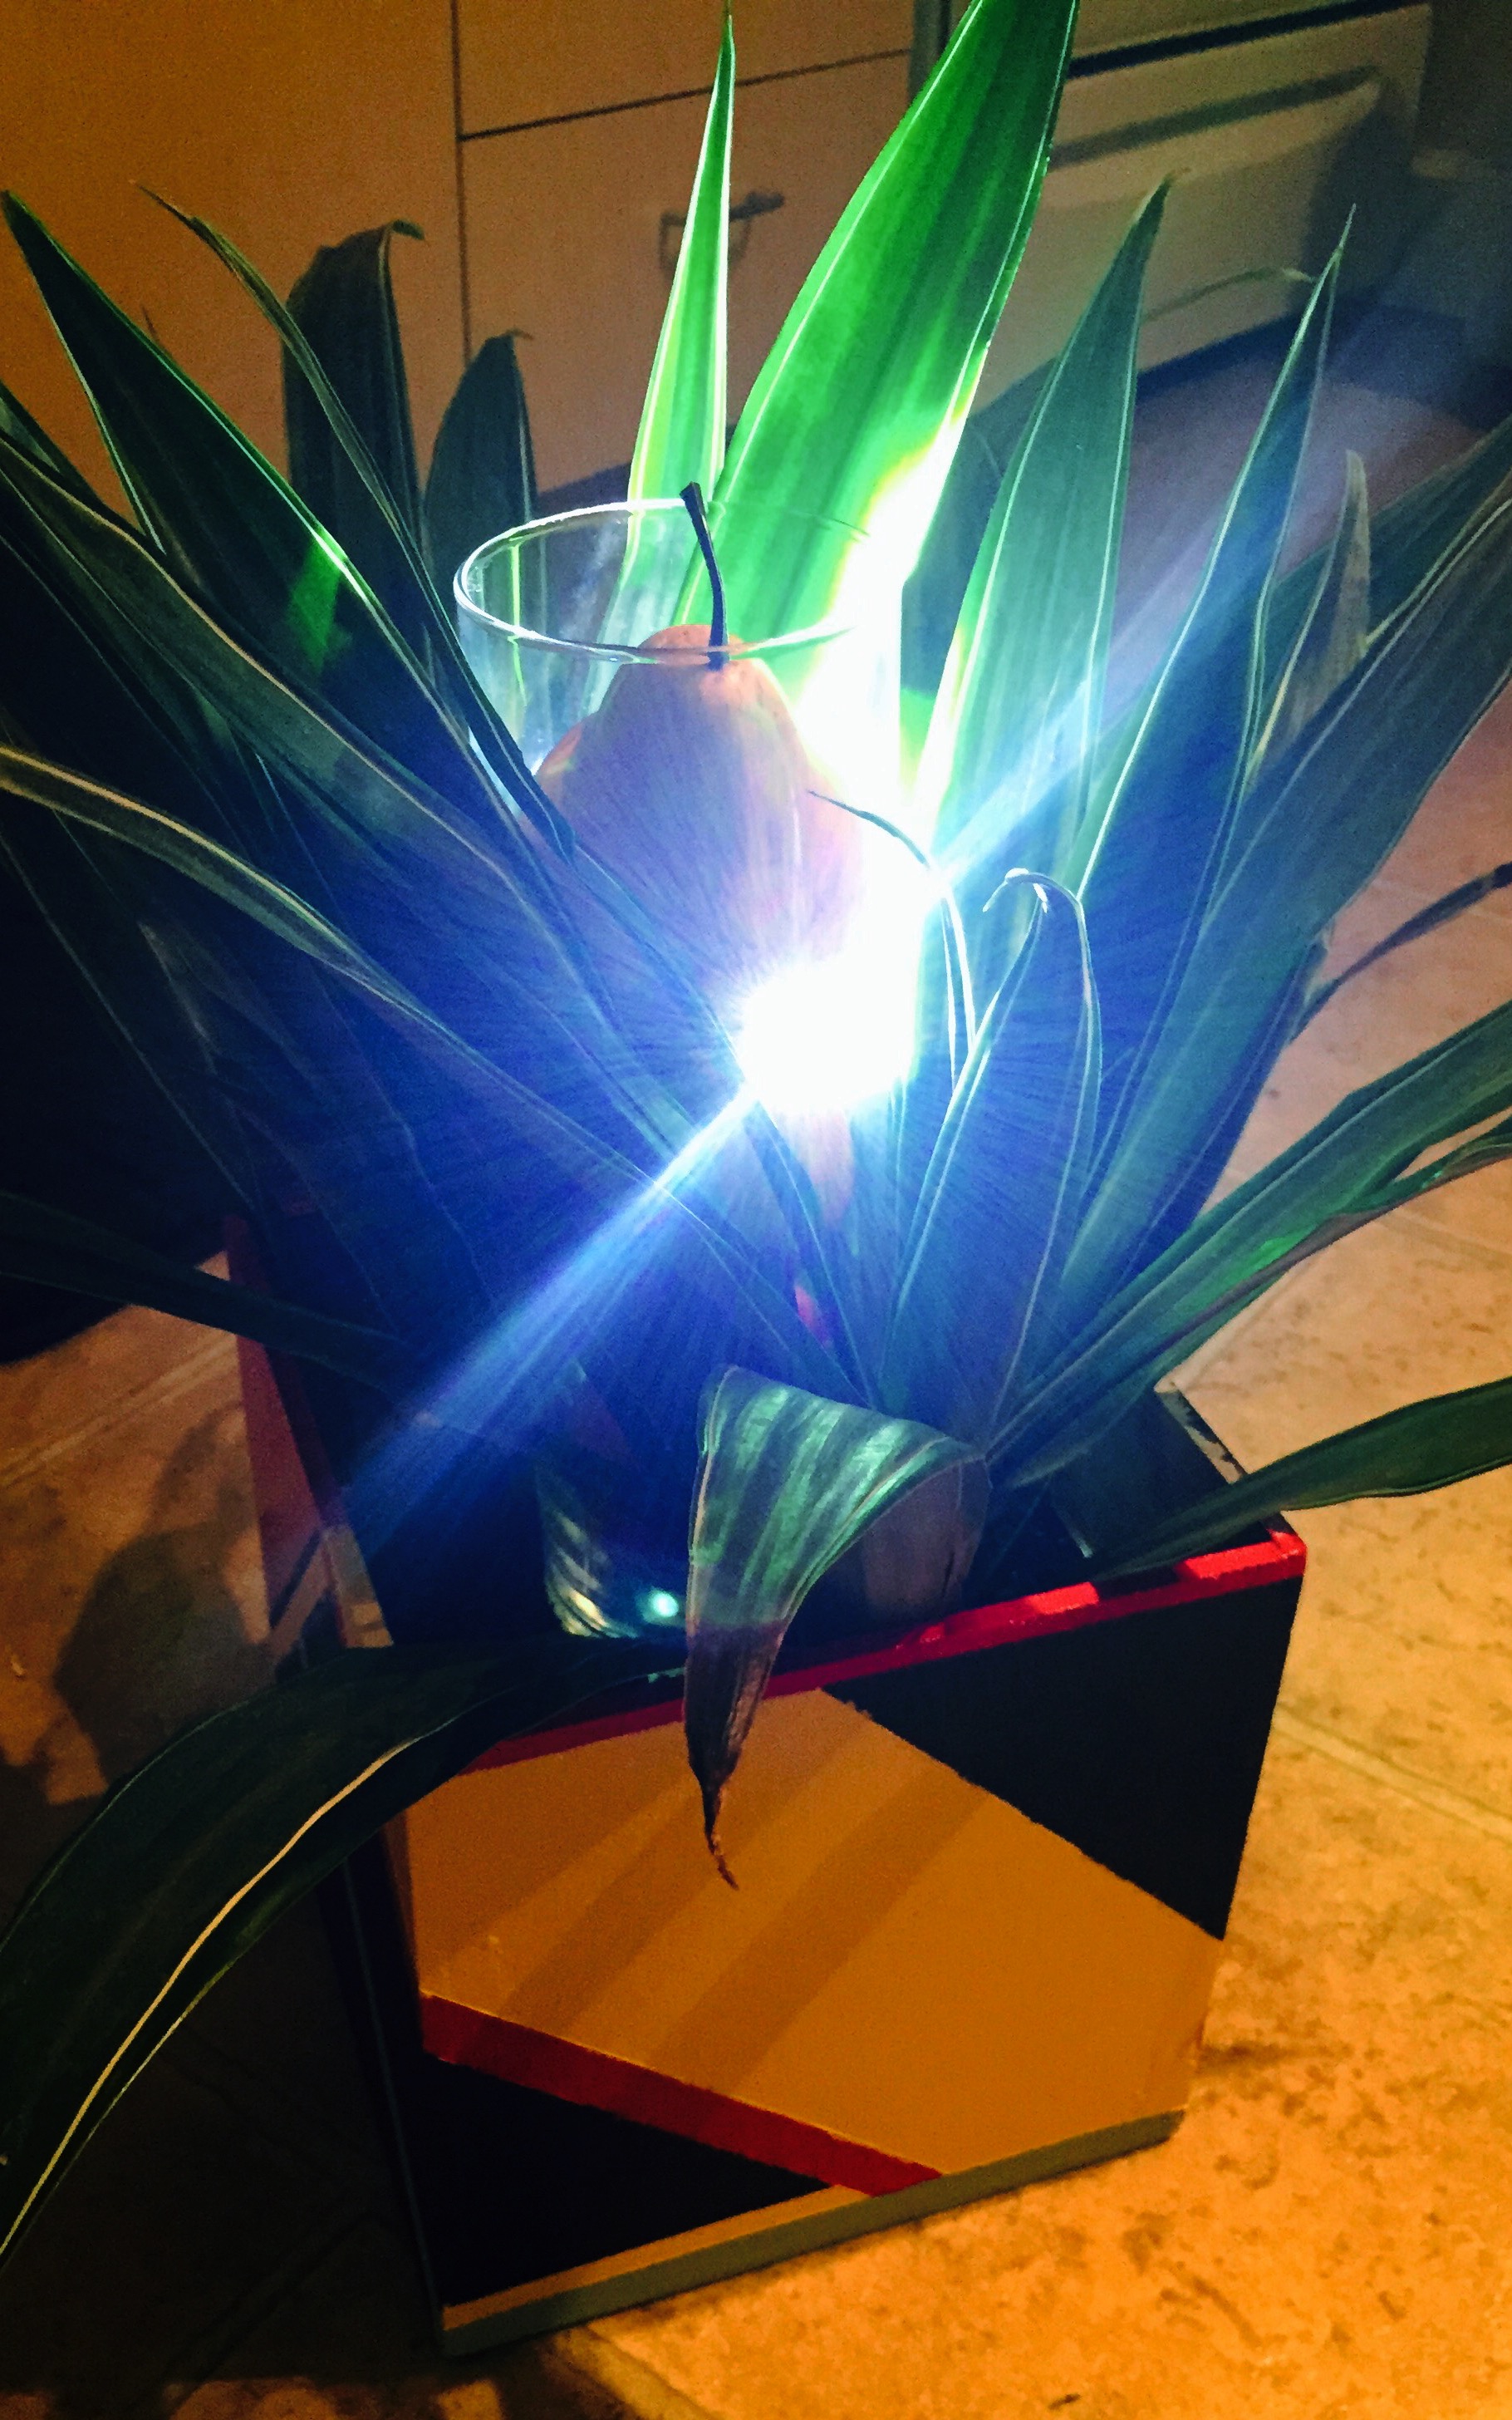
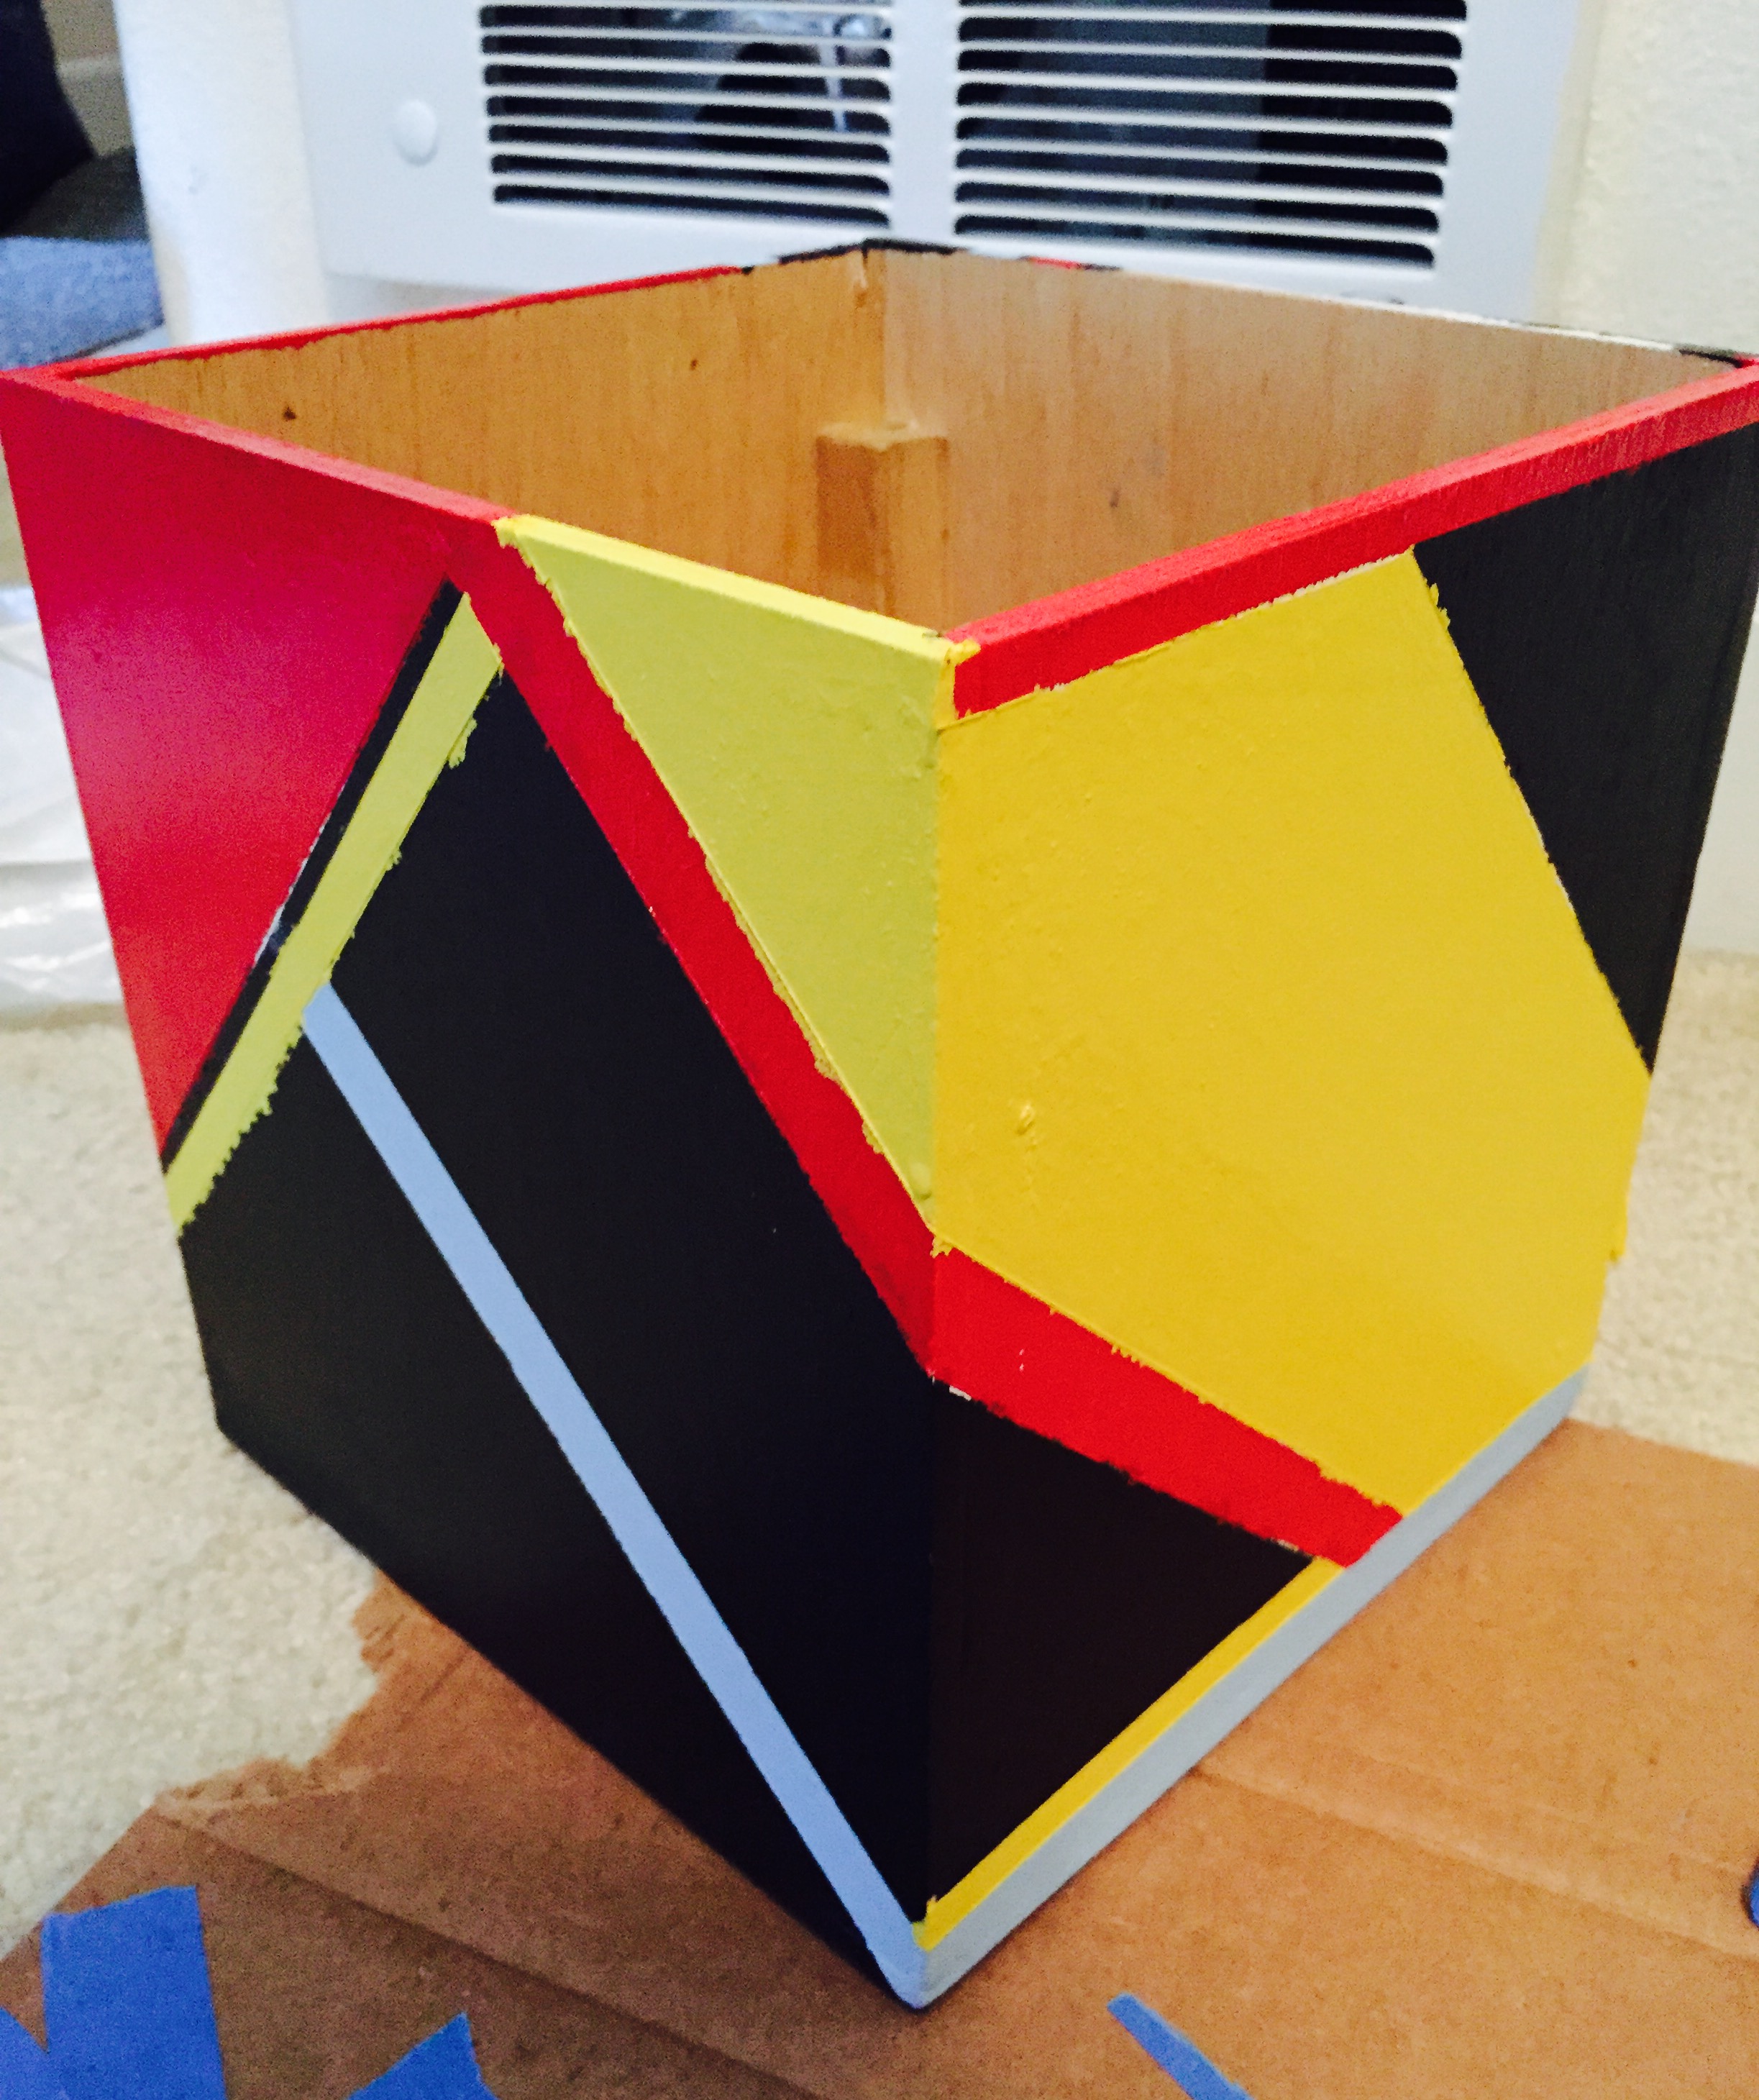
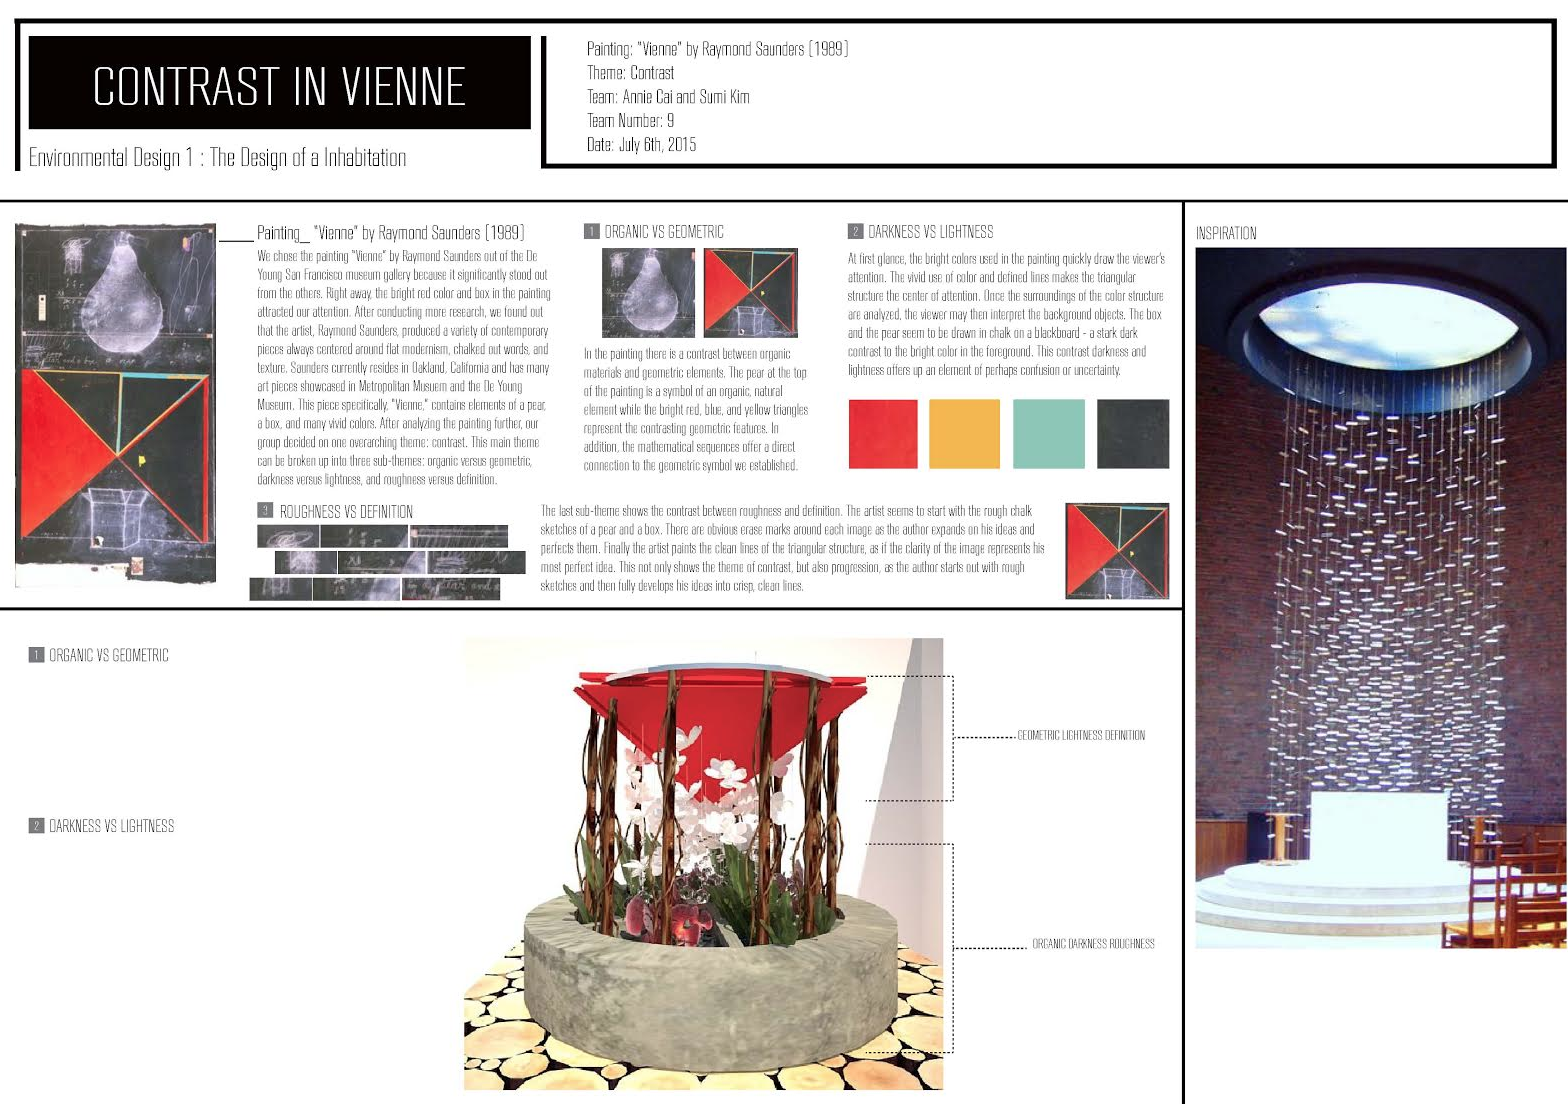
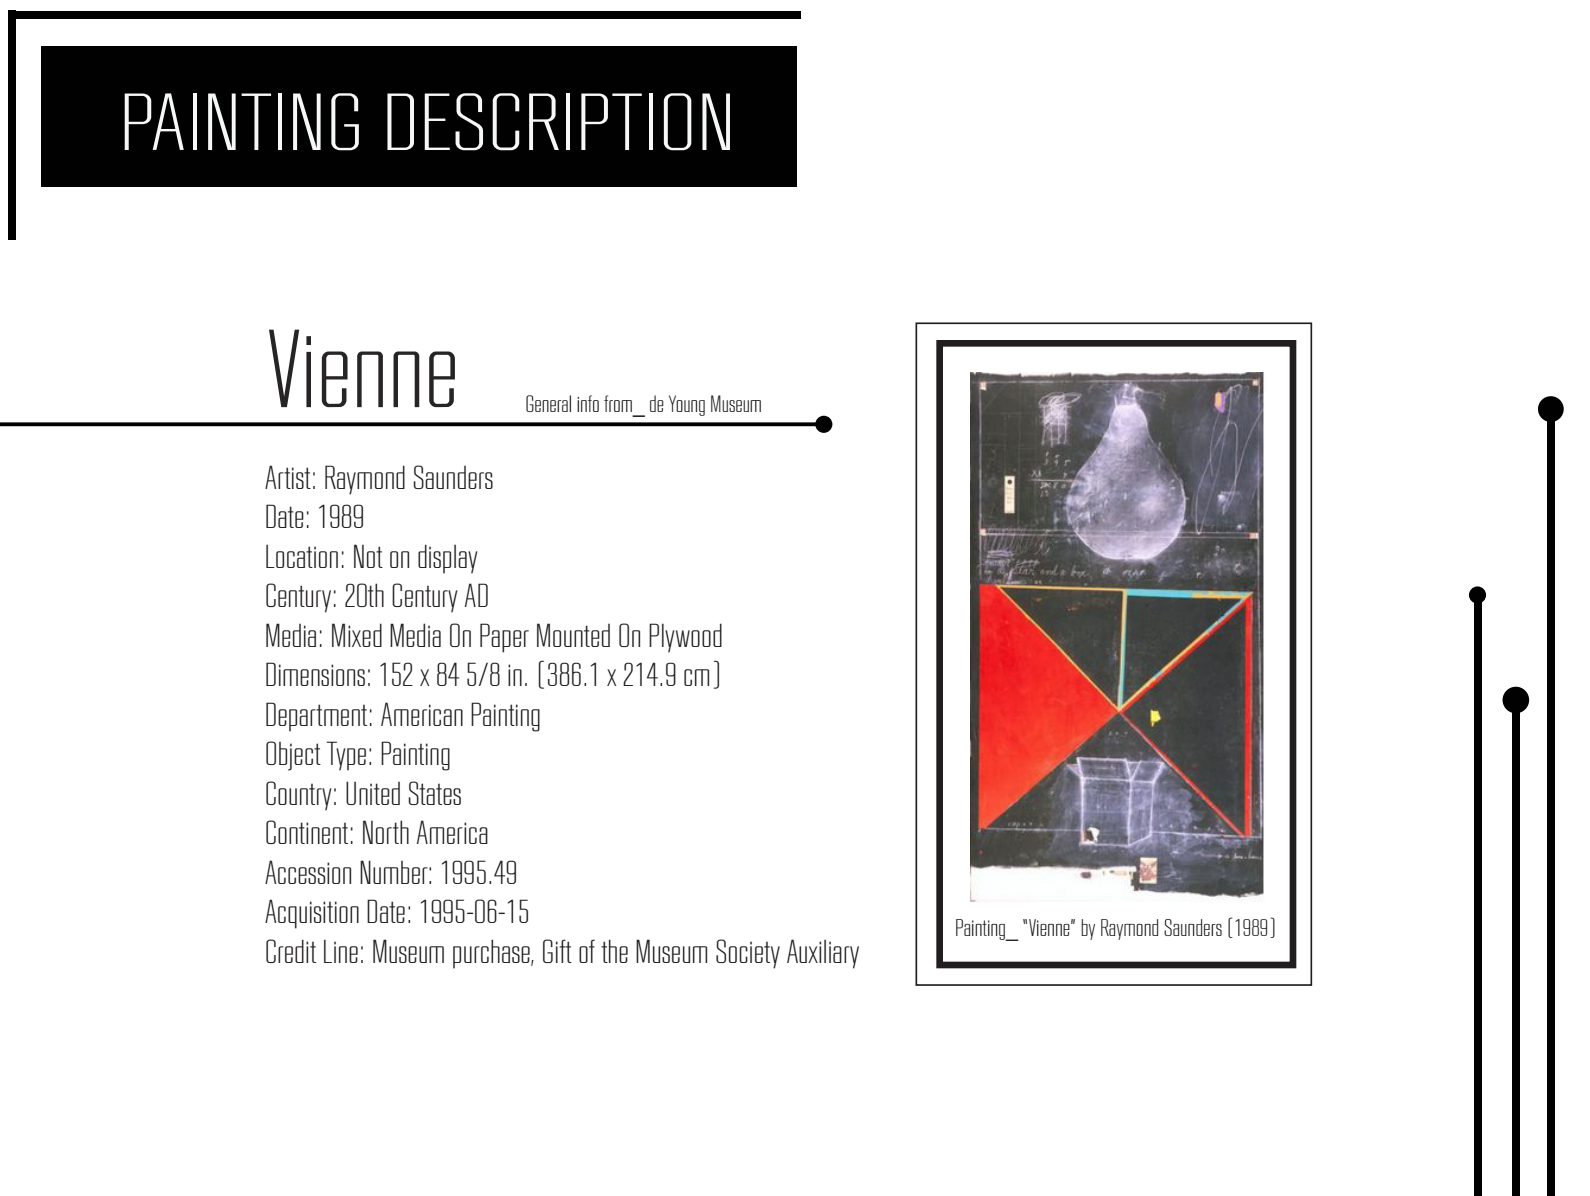
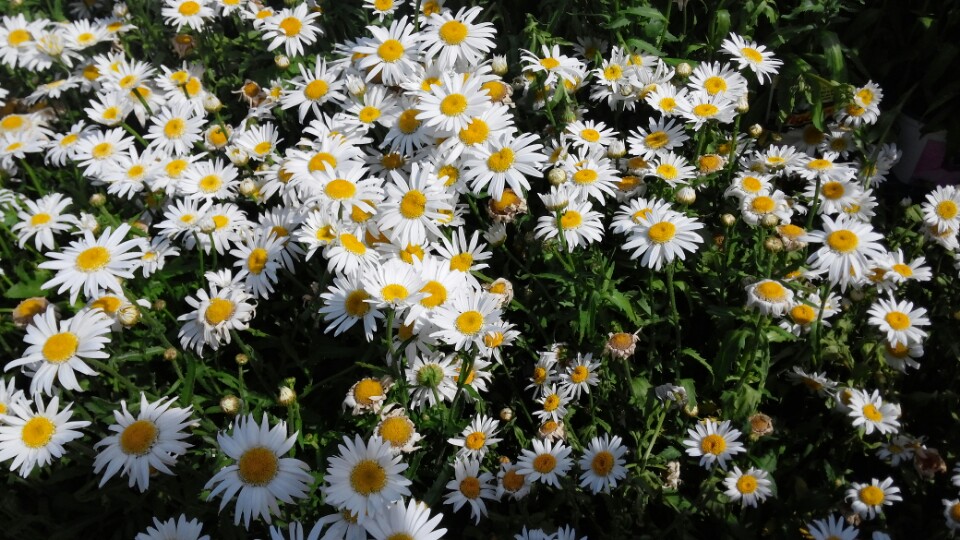
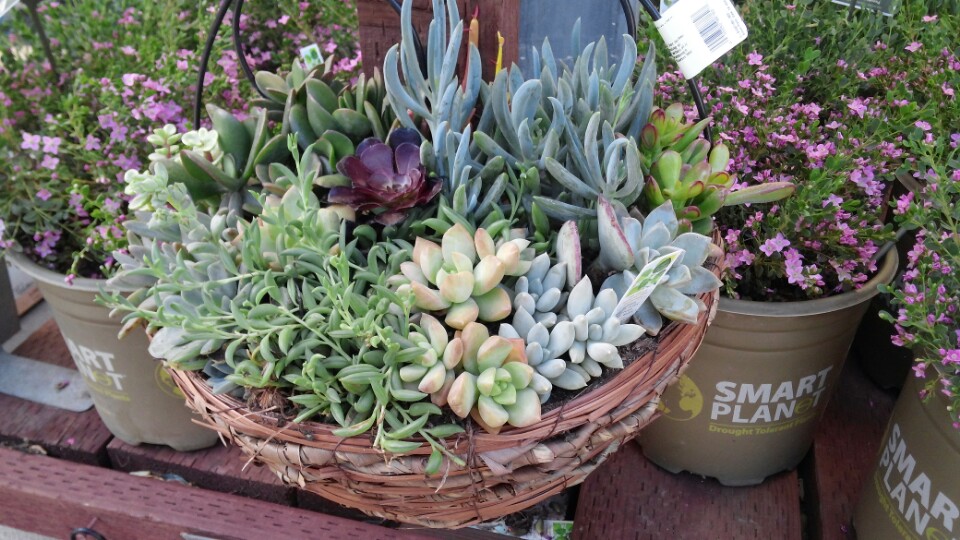
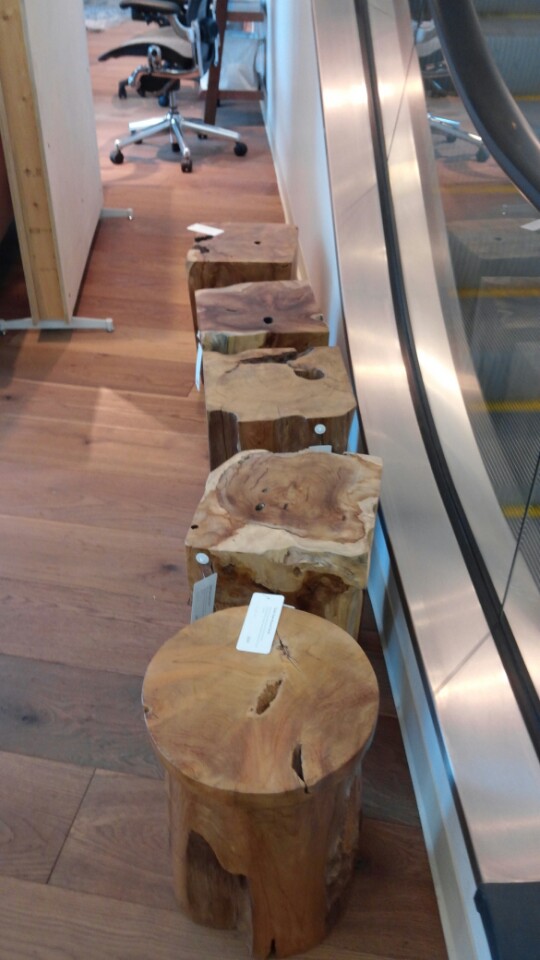
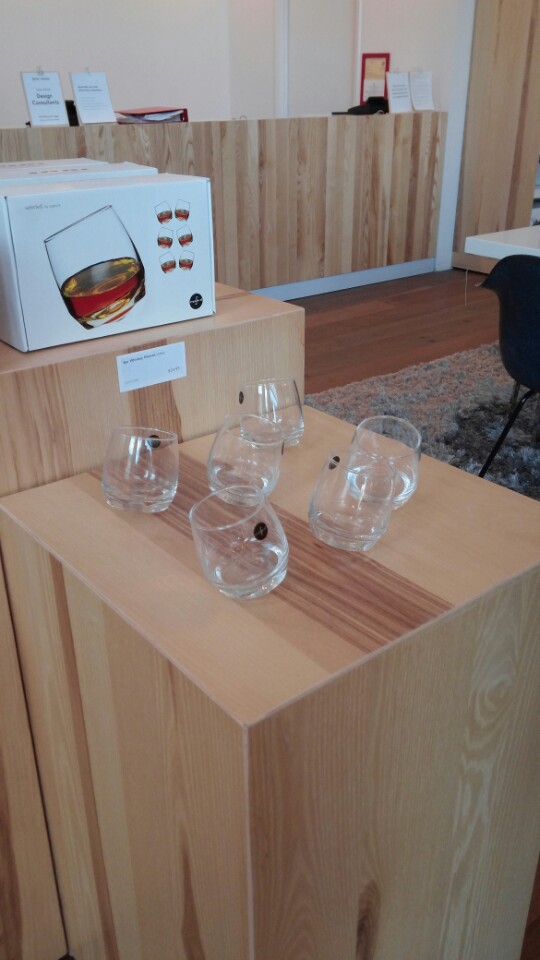
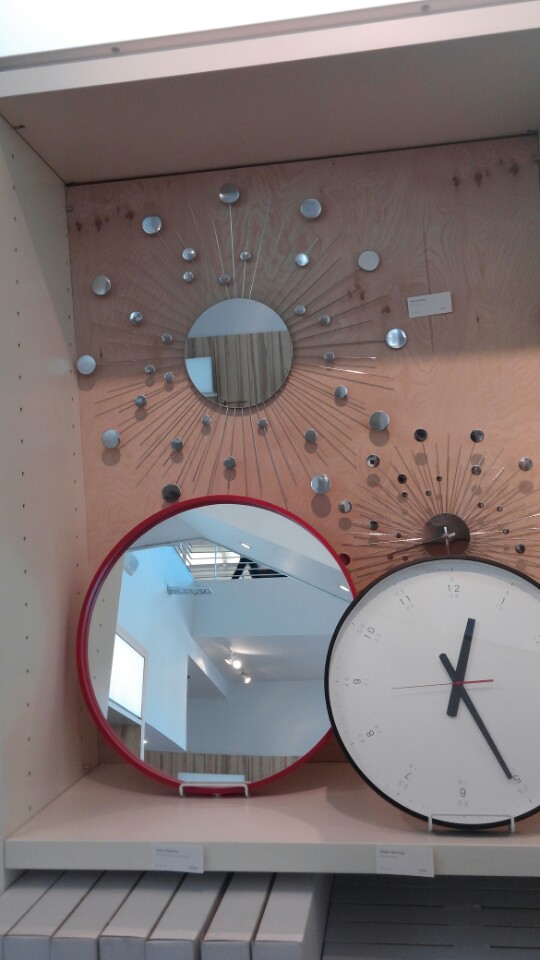
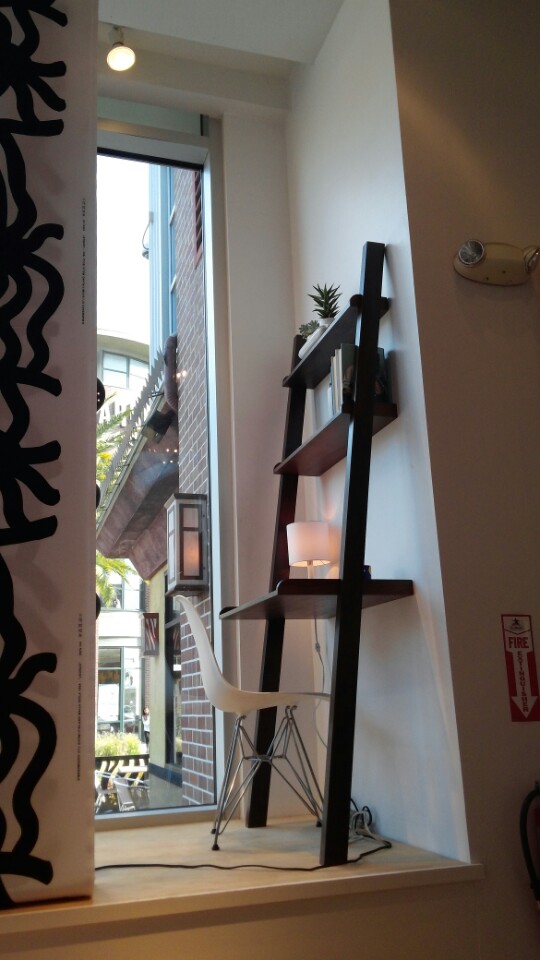
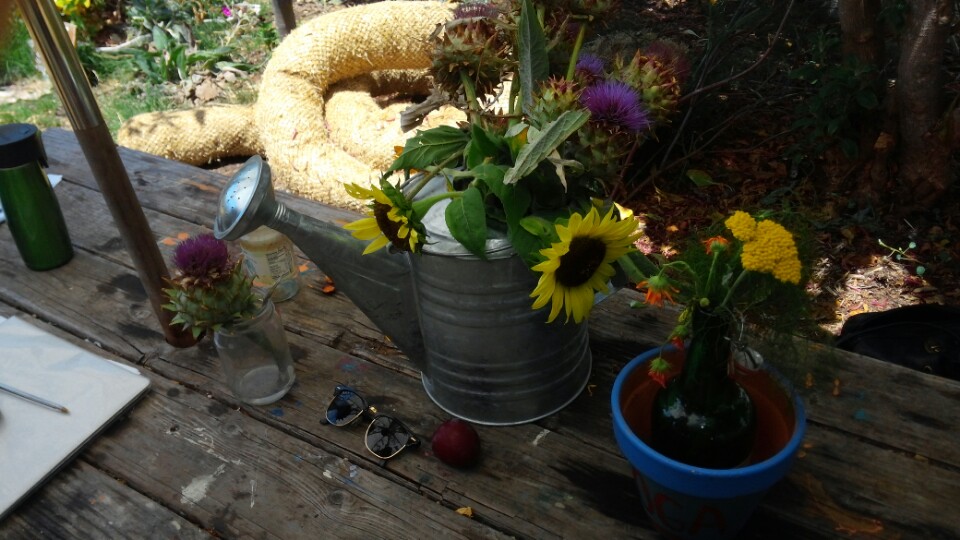
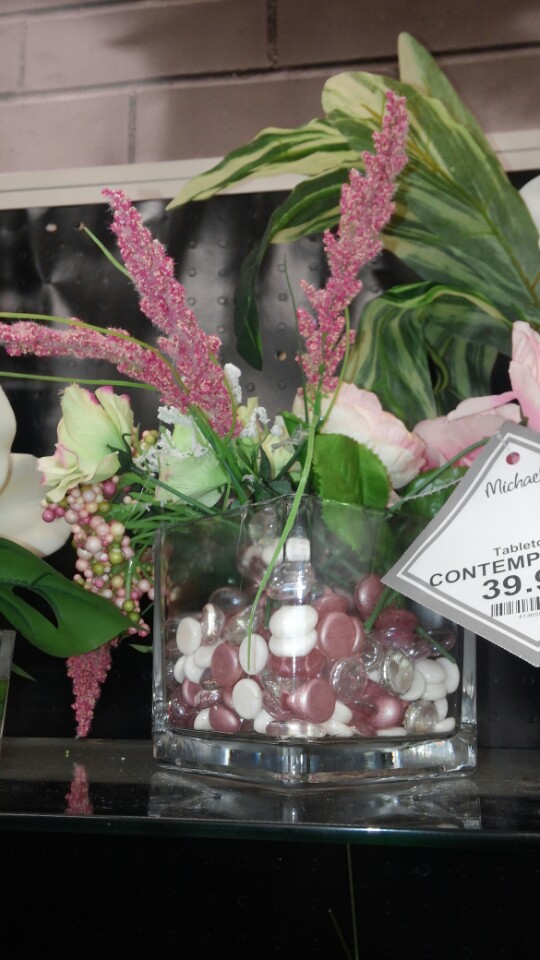
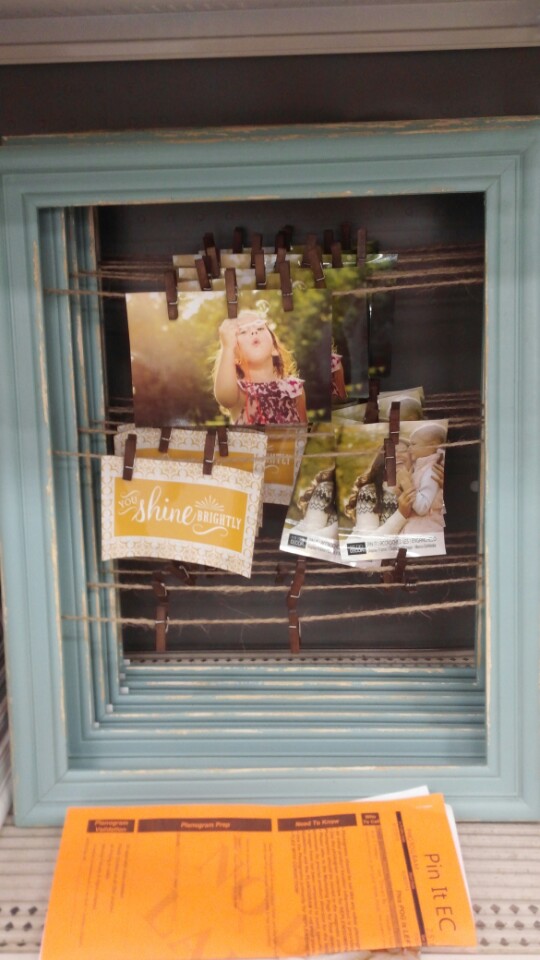
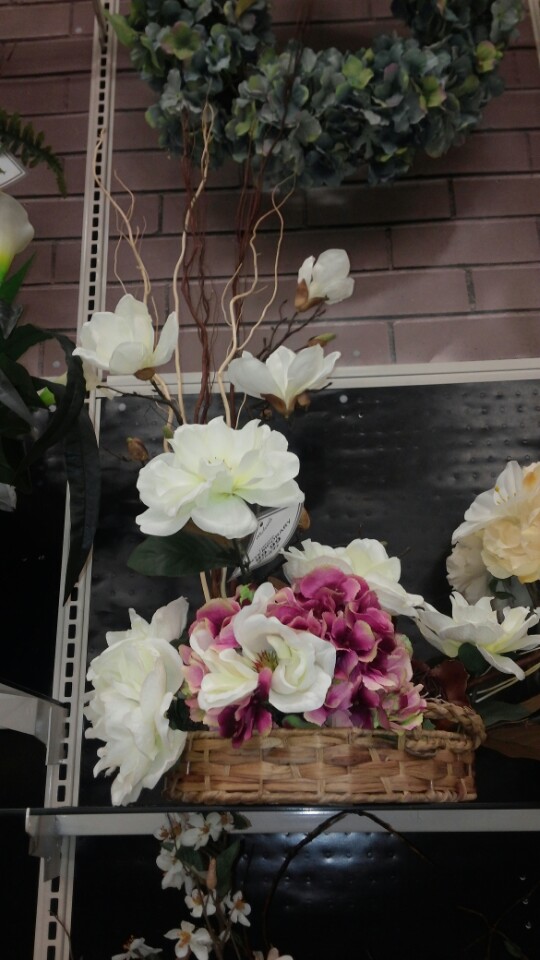
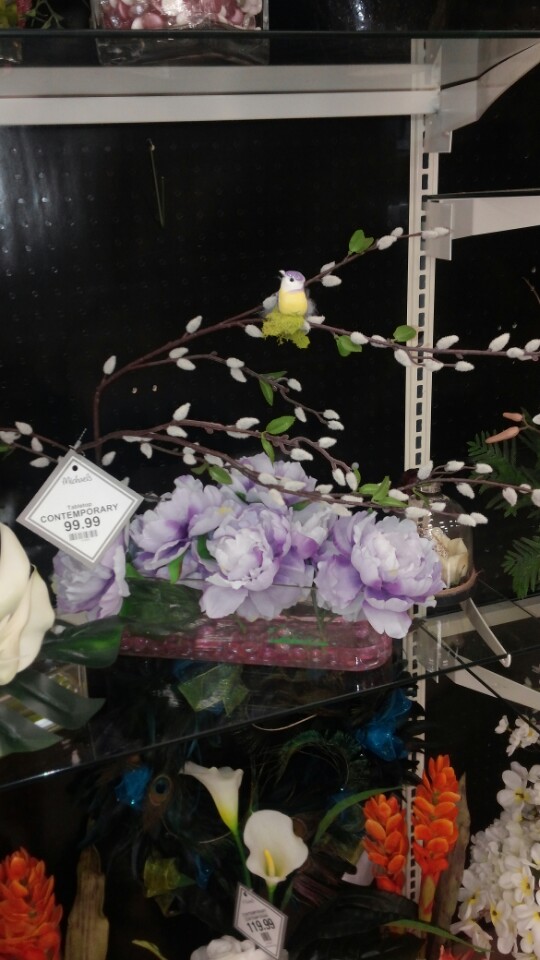
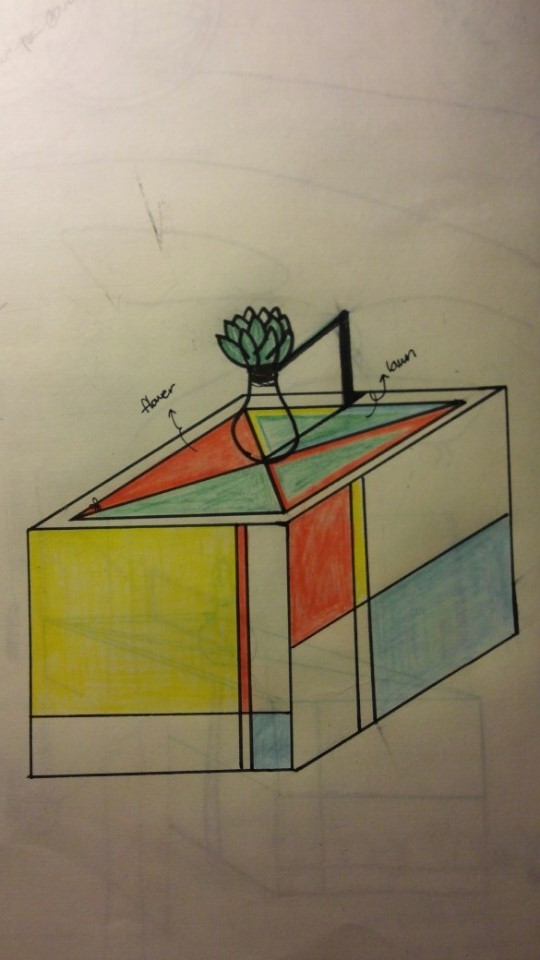
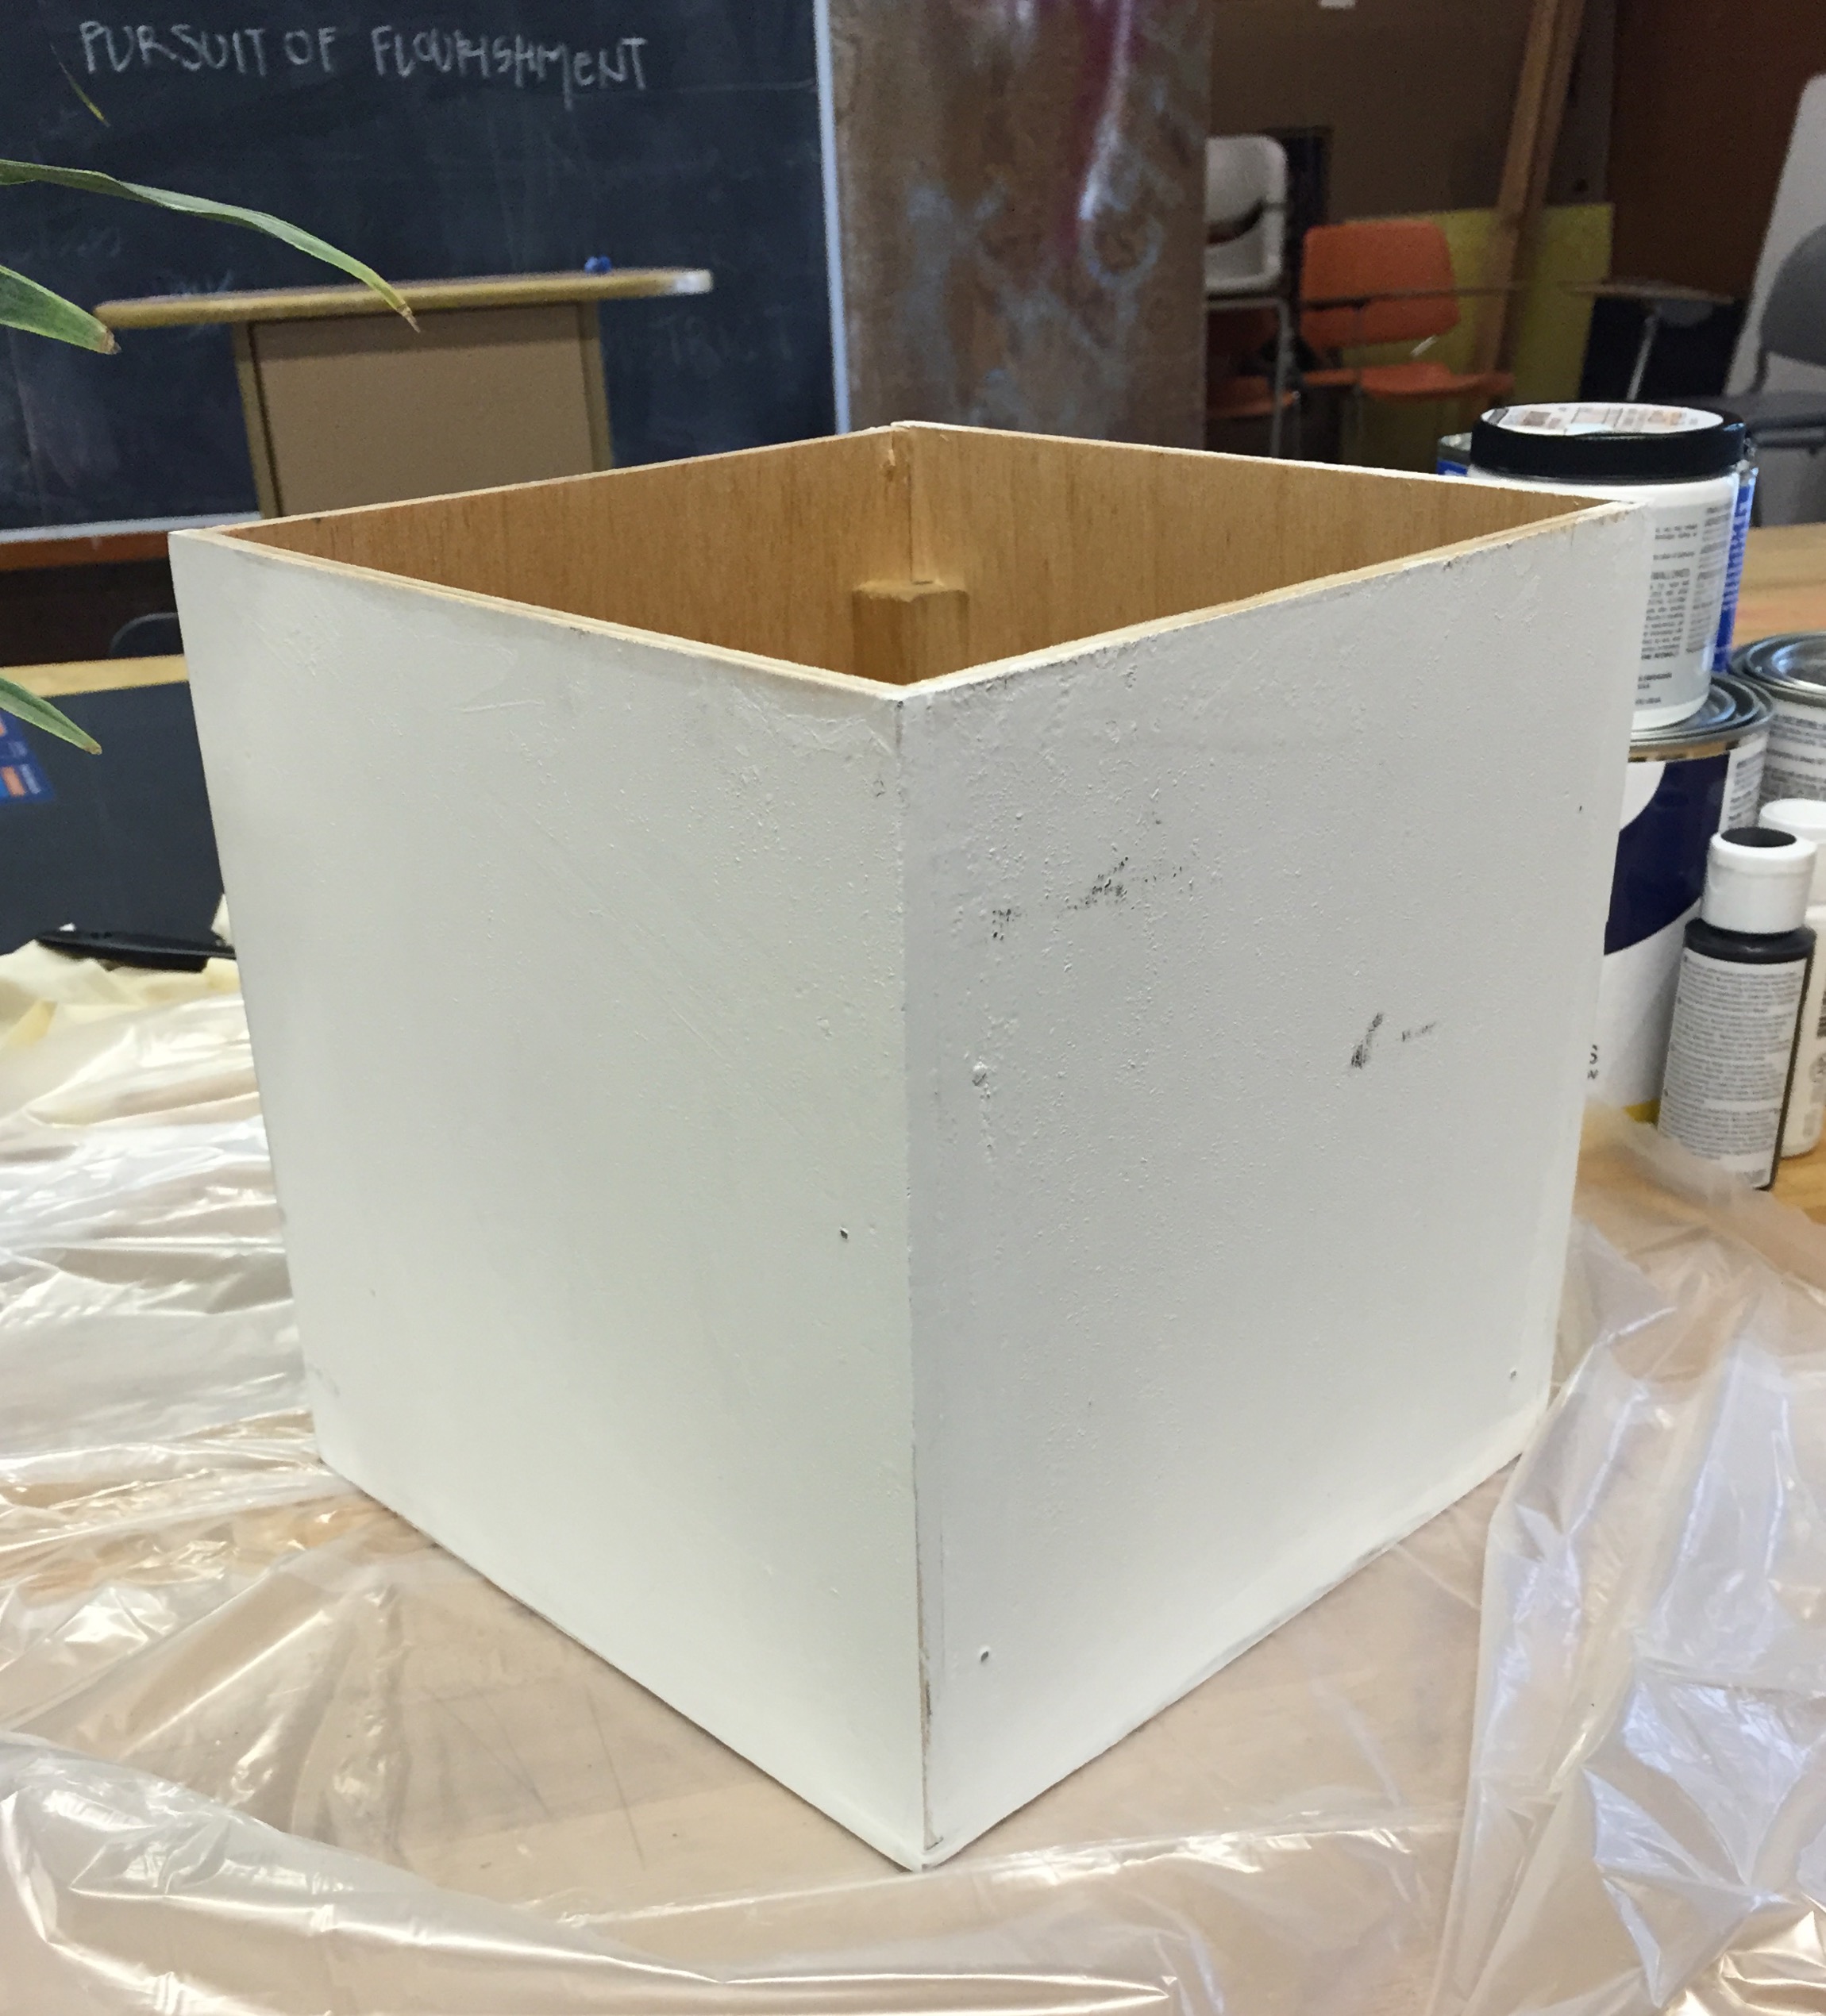
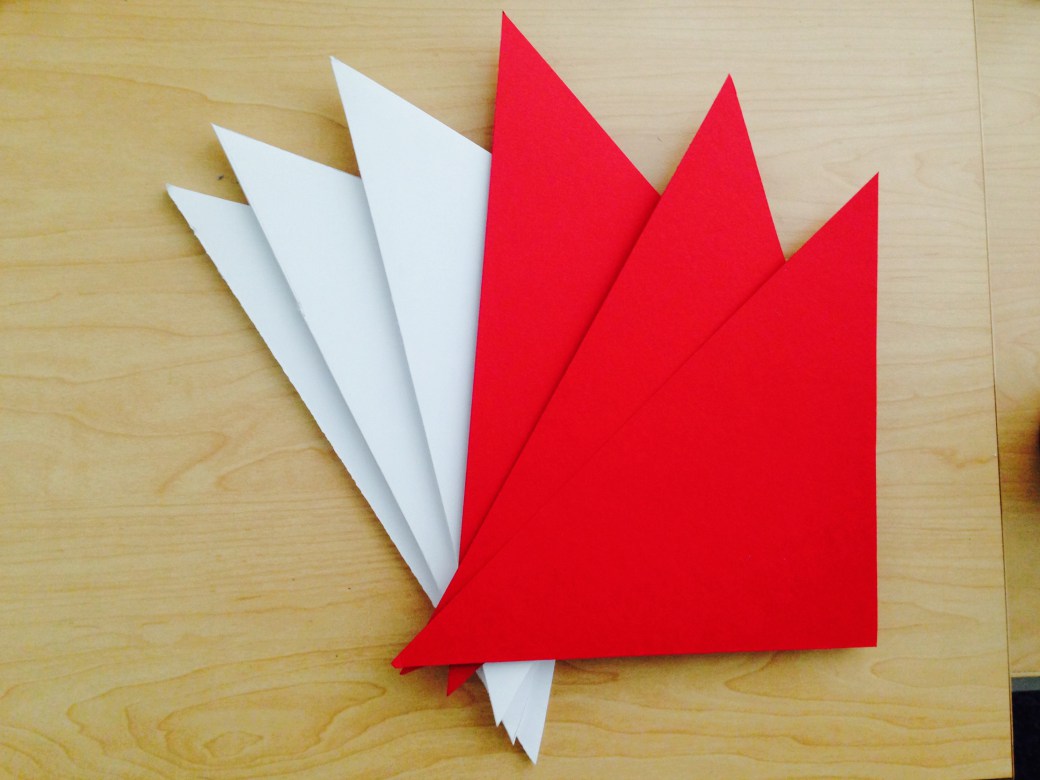
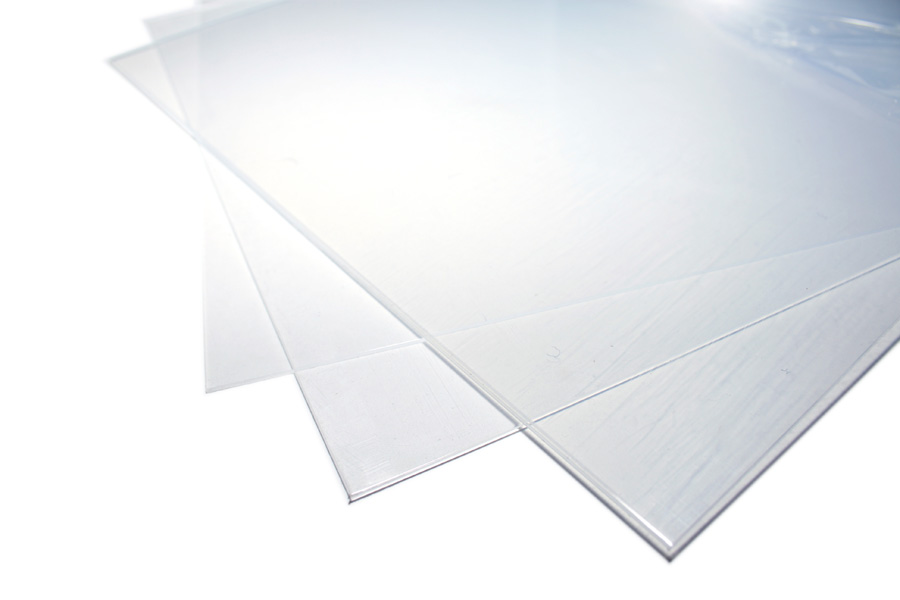
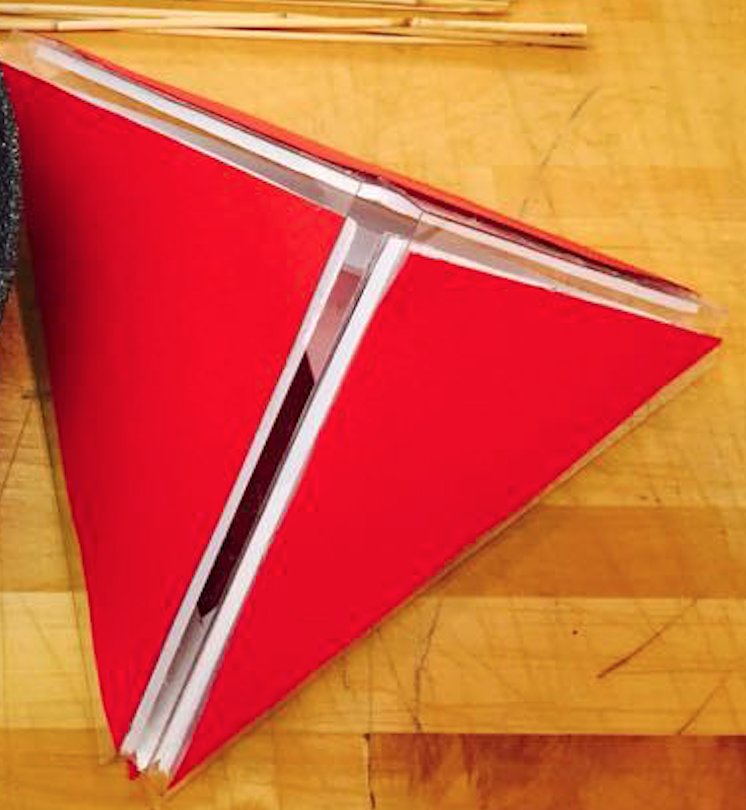
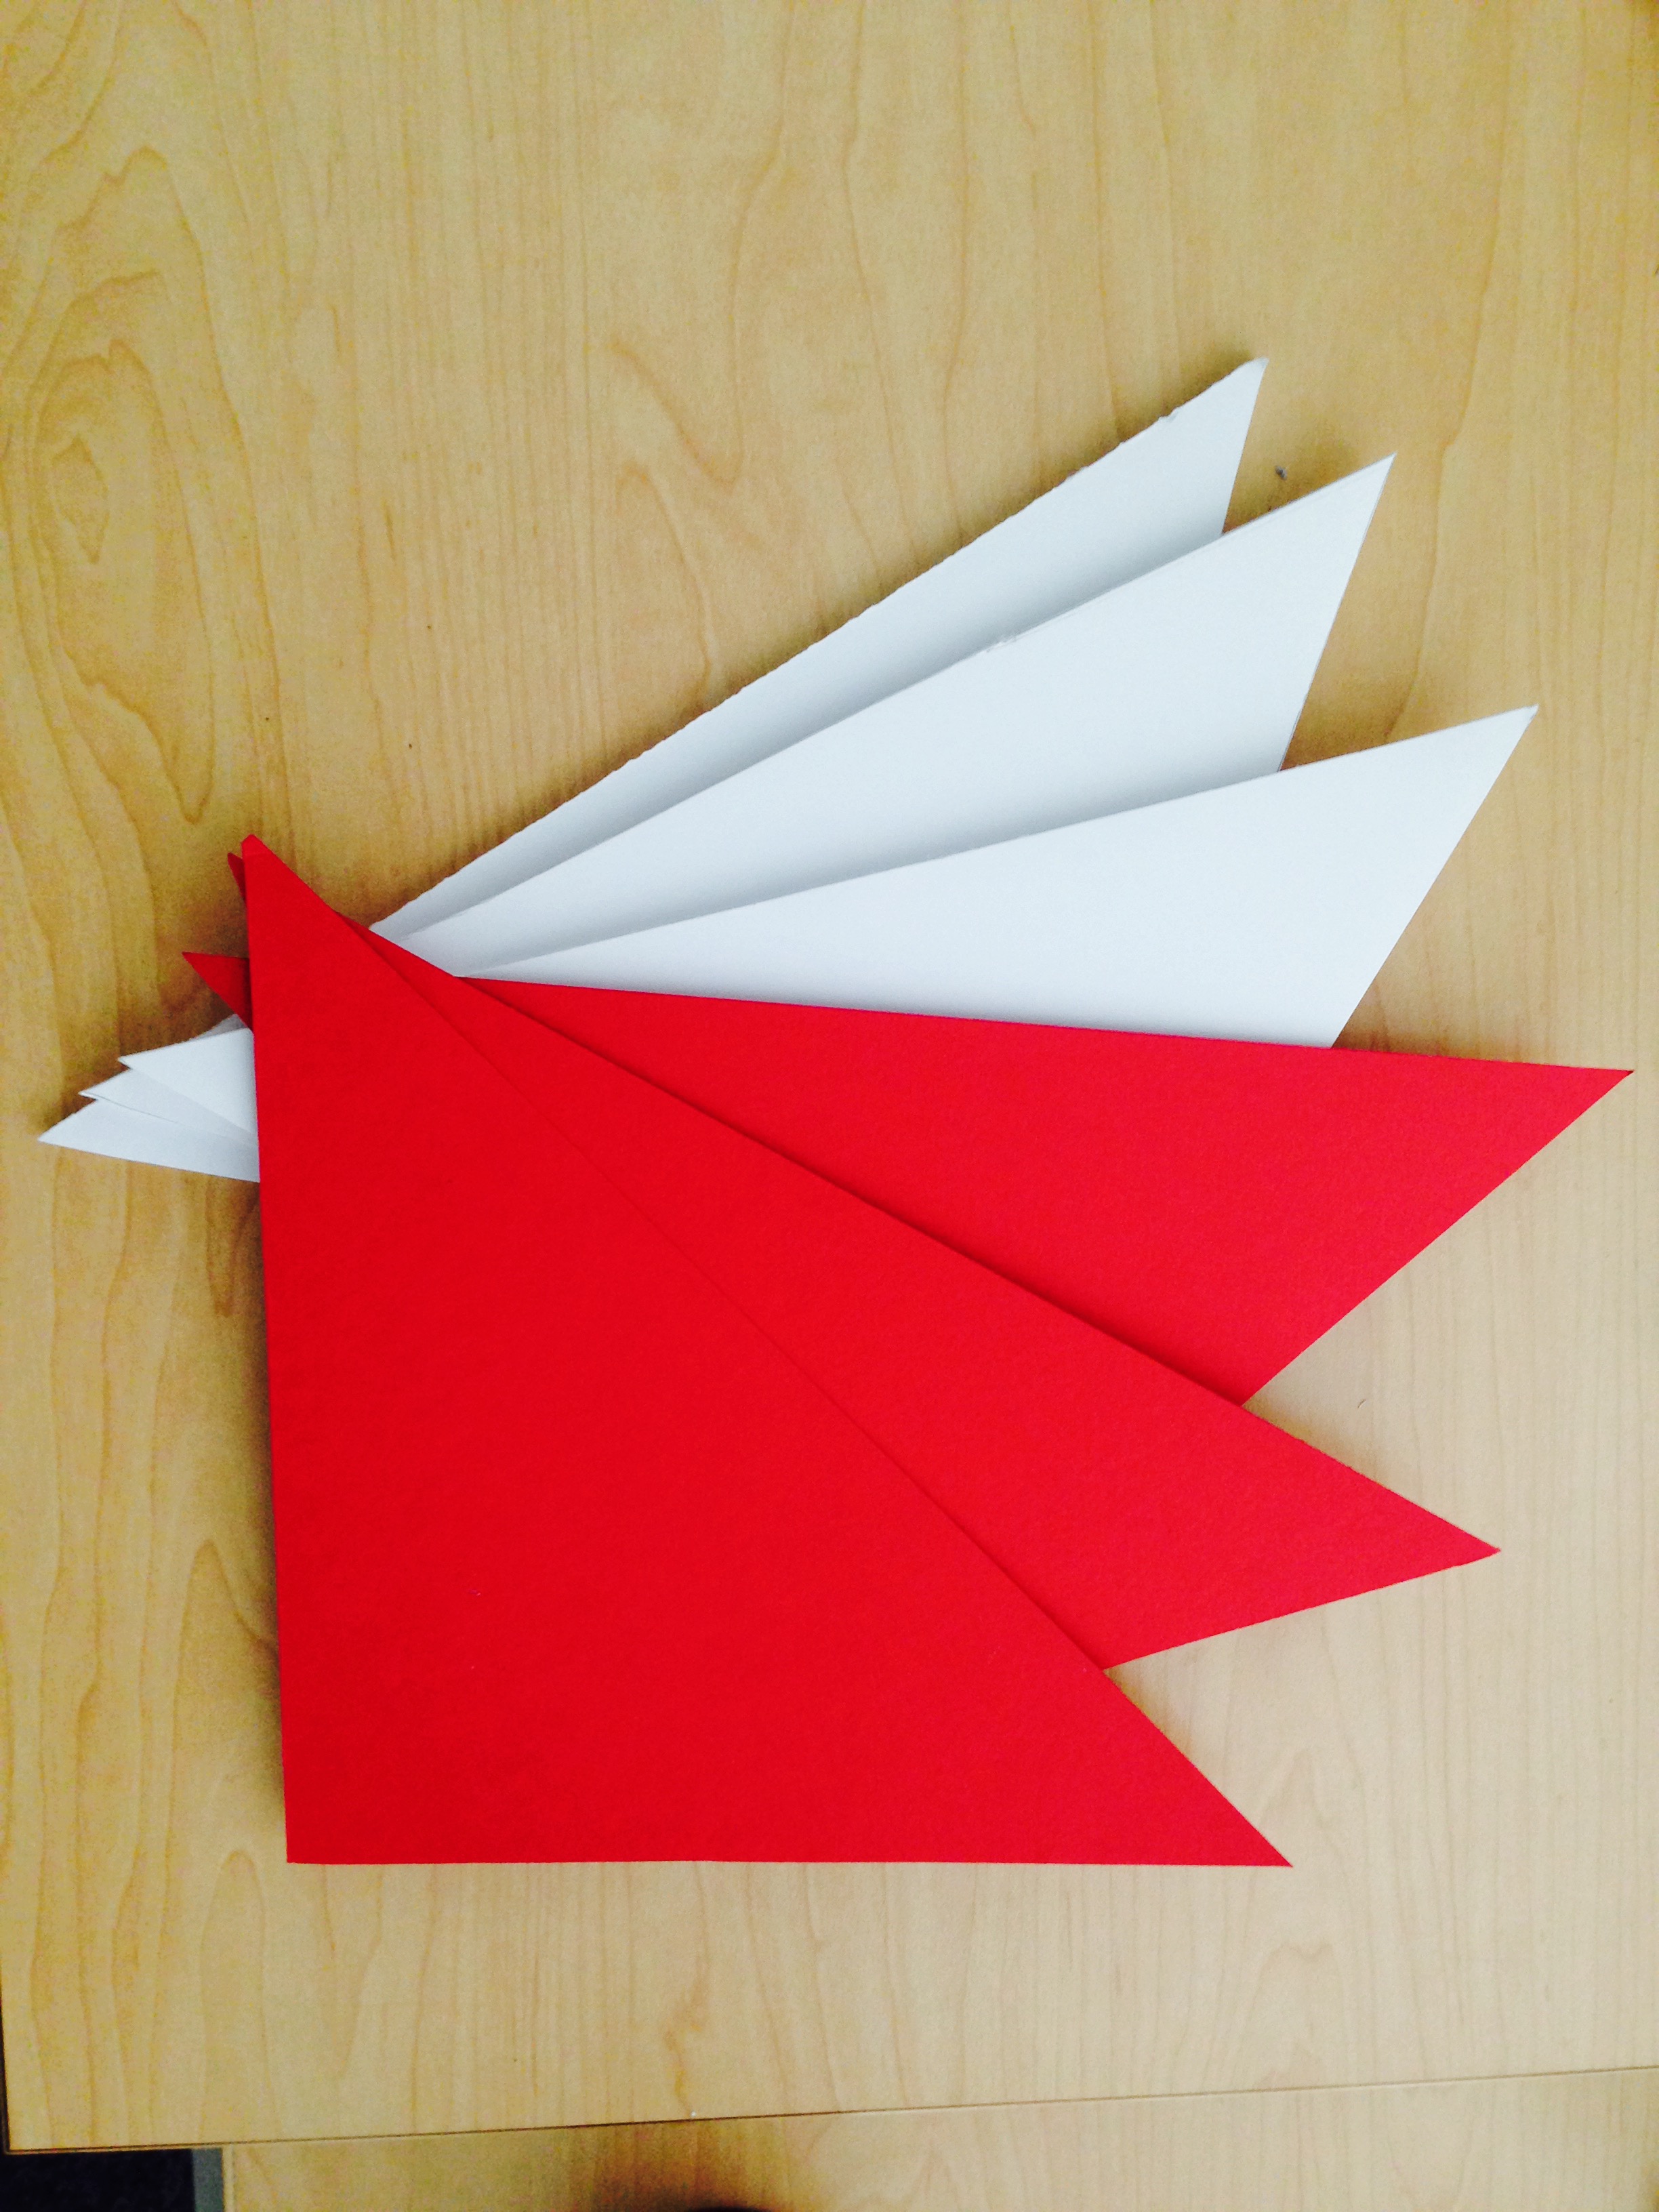
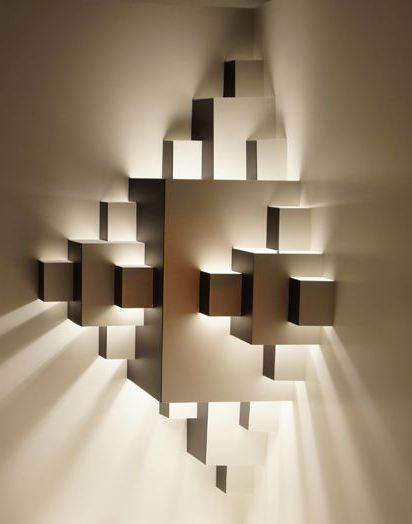
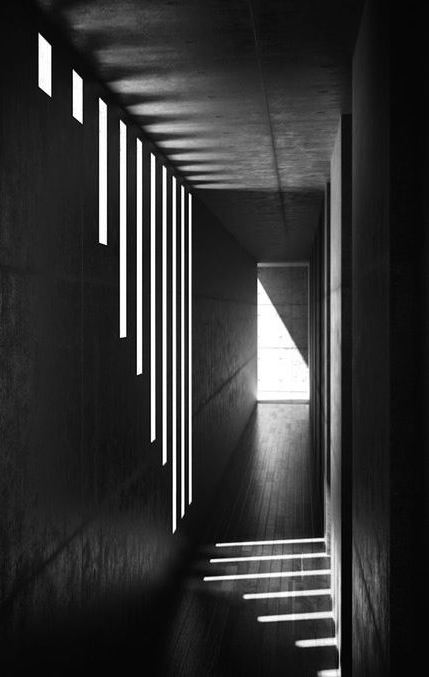
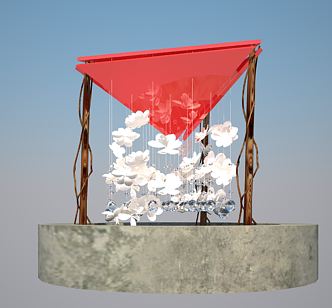
Today we presented our inhabitations in class. We had 6 minutes to present both inhabitations. It was enough time for us to introduce the artwork that inspired us, our chosen themes and the significance of our inhabitations. Here are some pictures of our exhibition:

Image 1: Our exhibition
Image 2: Annie and Sumi's inhabitation
Image 2: Annie and Sumi’s inhabitation
FinalSS
Image 3: Sofia and Su Kyong’s inhabitation

Sofia + Su Kyong: Pre-Final Work Session

Our inhabitation is basically complete! Hip-Hip-Hurray!

Our goal for this session was to add the finishing touches to our inhabitation. However, because the painting process of the base takes a lot of time we were not able to include a photograph of the final base. We will be touching up the lines on the box to make them appear as defined and clean as possible. Also, we placed a tiny reading light in the center of the plant to create the effect of light. In conclusion, all of the themes discussed in our brainstorm were applied to our final inhabitation. Finally, we are glad to include a new contrast in our inhabitation: real v. artificial. We used artificial pears and a real plant to represent this theme. As we look at this contrast in our work, we apply it to real life. In our inhabitation, some of the objects used are opposites but they look beautiful together. In real life, you meet a lot of different people and they have different beliefs or ideas but when combined with another person’s opposite beliefs, they can form something beautiful, a beautiful bond.

FinalBox

Sumi + Annie: Online work day and Planning for monday

Today, Sumi and I communicated over google docs and Facebook to complete our presentation on inDesign and Adobe Illustrator. We wanted to design the poster on Illustrator and take it to Inkstone to get printed on a large poster. We wanted it to be minimalistic and geometric like our painting.

Here is what we have developed so far:

Screen Shot 2015-07-05 at 7.08.55 PM

Additionally, we first started the Powerpoint presentation on google slides, but decided that it did not look as nice as we liked. Thus we switched that over to Illustrator as well, and here is our progress:

Apps-Google-Drive-Slides-icongoogle-slides-editing-options_thumb 114837-magic-marker-icon-arrows-arrow11-rightScreen Shot 2015-07-05 at 7.08.40 PM

We are excited to see everyone’s projects on Monday!

Sofia + Su Kyong: Brain Storming

Date : June.23rd

Diagram1

The conversation was focused on total 5 things :

contrast, functional, minimalism, mathematical/scientific, 5 sense

1. contrast

Contrast is the main theme of this project. There are three contrasts that we (SASS) concluded.

  • Oraganic VS Geometric

            organicGeometric

  • Darkness VS Lightness

Color

  • Roughness VS Definition

Rough         Defined

2. 5 sense : taste, sound, smell, view, touch

3. Mathematical/ Scientific 

Rough

Mazwell's equation     schrodingerequation1

Edison           Einstein

We understood a round shape as a light bulb although a painter mentioned it as a pear. Therefore Edison came out on our mind. Also when you look at the painting, there are traces of writing equations. It made us to imagine that a scientist considering a method or equation during science experiment is trying to write down something on the chalkboard.

4. Minimalism

Geometric

minimalism          minimalism2

When we interpreted the pattern of painting, we thought minimalism would be perfect theme of it.

5. functional

organic전구화분전구화분2

‘We want something functional!’

Considering what the round shape can be, we thought it can be a flower pot.

Sofia + Su Kyong: Brain Storming + Work Session

Date : June. 30th

As we explored our life, Michaels, Home Depot and Target etc.,

we made new plan B.

6.30  (1)   6.30  (7) 6.30  (9) 6.30  (11) 6.30  (12) 6.30  (13) 6.30  (15) 6.30  (16) 6.30  (17) 7.1 (2) 7.1 (3) 7.2 (3) 7.2 (4)7.2 (5) 7.2 (6)

Plan A.                                   Plan B.

plan1.      Plan2      Plan3

We wanted the box that we already made to play a role as a chalk board. Since the painting reminds us a scientist keep thinking about mathematical equation, we wanted to make trace of the idea. Also it is cool to have a flower pot with chalk board that we can write down our idea.  Then we wanted to put a floppy plant into the box. Then put a cylinder with a fake pear. Although pears and a glass cylinder are artificial things, it combines well with a plant. ‘Two contrast things can be combined well enough’ motivated us. If you look around, the world is made up of natural things and artificial things.

At Michaels we purchased the following materials:

  • Glass cylinder vase
  • Three artificial pears
  • Black and white paint

At Home Depot we purchased:

  • Plant
  • Sample paint

At Ace Hardware:

  • Chalkboard spray paint

Sofia + Su Kyong: Brain Storming + Work Session

Date : June. 25th

We had conversation about our plan.

Plan A.

plan1.      

We planned to make a box by using wood. The box would have pattern of minimalism. After filling up the box with soil, we wanted to plant flowers and lawn so that we can see a pattern which was on the painting by seeing on the top of box.  Then we planned to make a light bulb as a flower pot.

Since we chose plan A , we went home depot and bought a light bulb, plant and screw for making box. We brought plywood to home depot and asked a clerk to cut it off into 8 inches of squares.  We bought a light bulb which has 800W and needs 240V.

6.30  (20)
Home Depot

Material that we got.

  1. screw
  2. plant
  3. light bulb
  4. 8 inches of squares
6.30  (8)
Plant that we got is one of those
6.30  (21)
Processing of cutting wood
6.30  (24)
A light bulb which has 800V and 240W

Sofia + Su Kyong: Work Session

June 26th

Our goal for this session was to build the cubic base of our project and apply layer of paint primer.

The materials used for this process were the following:

  • Wood
  • Saw
  • Nails
  • Hammer
  • Pencil
  • Ruler
  • Paint Primer

Wood

Tools

Picture 1: Wood used for surfaces of cube & Picture 2: Tools used

Some of the materials used in the making of this base were borrowed from Sofia’s neighbor, a kind and knowledgeable contractor. We had some complications because the wood used for the cubic structure is thin and fragile. He provided us with helpful advice: By placing thick wood in the inside corners of the base, the structure would be more sturdy. At the end of the day, our goal was accomplished.

CubeCompleteCubePrimer

 Picture 1 & 2: Base completed

Sumi + Annie: Our hardcore work day

On Thursday, we brought in all our materials and put our heads together for a 5 hour work session. Here is what we did:

Cut clear plastic sheets for corners, hot glued them to foam board, glued them it to the red triangles for our magnificent final product

kakaotalk_20150702_015855547-e1435770822383 plastic-sheets-supplier114837-magic-marker-icon-arrows-arrow11-rightScreen Shot 2015-07-05 at 6.48.42 PM

Went to ace hardware, bought round turntable, sprayed it with stone spray paint to mimic a concrete pot

41id0l9ndoL._SX300_114837-magic-marker-icon-arrows-arrow11-rightScreen Shot 2015-07-05 at 6.51.45 PMCut all the bamboo poles and binded them together with string

Screen Shot 2015-07-05 at 6.58.08 PM 114837-magic-marker-icon-arrows-arrow11-right IMG_0686

Found Ivy, dirt, glass pebbles, and flowers around campus to incorporate into project

PetuniasScreen Shot 2015-07-05 at 7.03.10 PMcreeksStarted presentation board and powerpoint!

Screen Shot 2015-07-05 at 7.08.55 PM Screen Shot 2015-07-05 at 7.08.40 PM

LASTLY, WE DEVELOPED OUR 3D MODEL!Screen Shot 2015-07-05 at 7.09.03 PM

Sumi + Annie: Brainstorming & Work Session

paintingred

“Vienne” by Raymond Saunders

Today we had focused on making the triangular part of our artwork. We thought that the color that best represents the lightness of our painting would be red. So during the weekend, we bought some red binders to add the red coloring to the triangular module. However, the red binder was too  thin and not opaque enough, so we changed our plan into using a construction paper. Also, we had decided to use the foam boards to hold the pieces in shape. During the work hour, we had calculated the dimensions and cut the triangular parts into pieces.

KakaoTalk_20150702_015855547

Triangular Pieces 

In between those pieces, there would be a transparent pieces that would allow the lights to go through. We had found some concept images. This would also develop our concept of geometric.

light geometric light

Also, we had made small changes in our overall model. Last Thursday, we were planning on making the bottom part rectangular. However, in order to give significant contrast between “organic verses geometric”, we decided to make it circular. This bottom part of our model represents organic. We had made a three dimensional model with our computer to see how it would look like.

modelThree Dimensional Model

On Thursday, we will be gathering everything together and finish up our real model.